Troubleshooting: How to Replace a Japanese Knife Handle
So, your favorite Japanese knife’s handle is coming loose or breaking, and this can cause a lot of disappointment.
Don’t despair, though; there is something you can do!
The Japanese Wa handle is usually very sturdy and well-made, but sometimes it may need to be replaced due to damage or wear and tear.
Do you want to know how to replace a Japanese knife handle?
Replacing a Wa Japanese knife handle is not as difficult as it may seem.
With the right tools and some patience, you can easily replace your old handle with a custom-made one that will last for years to come.
The Japanese Wa handle is usually very sturdy and is attached to the tang by being hammered into place with a mallet. Some type of glue (epoxy) is usually also added, so the tang stays in sturdily.
Another option is to drill a hole in the handle and insert the heated tang that way.
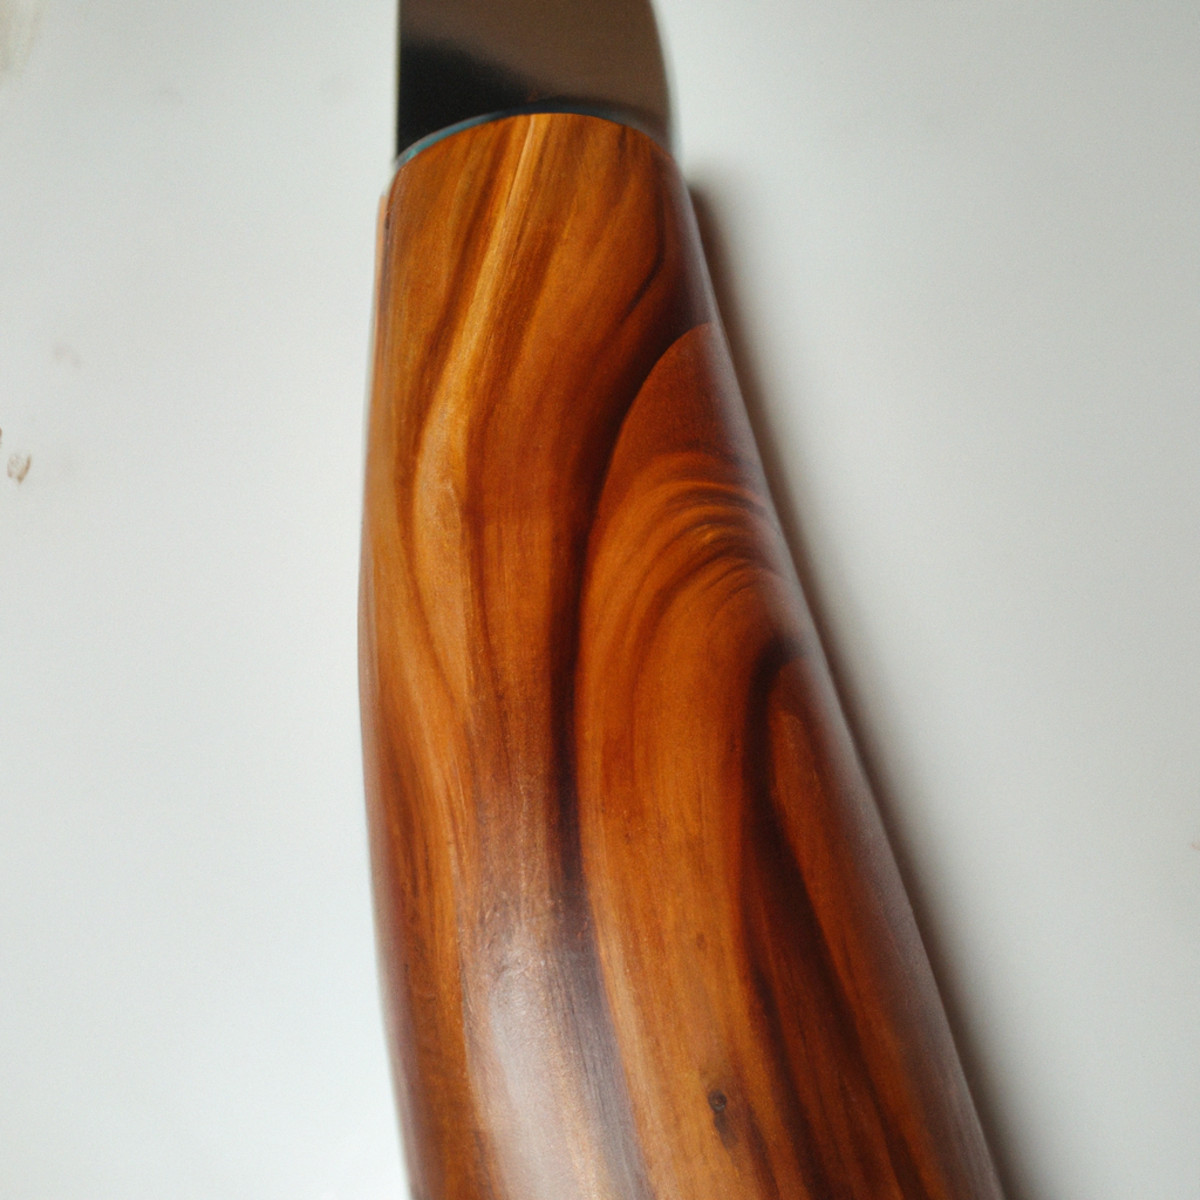
You can find octagonal, elliptical, oval, and chestnut-shaped handles on Japanese knives, among others.
If you want your knife to last for decades, then knife restoration is the best way to save money and keep your knives looking like new.
A simple handle replacement can make all the difference.
In this guide, we’ll walk you through the steps of removing an old handle and replacing it with a new one.
We’ll also provide tips on how to find quality materials for making custom handles and what types of wood or other material are best suited for the job. So let’s get started!
Check out our new cookbook
Bitemybun's family recipes with complete meal planner and recipe guide.
Try it out for free with Kindle Unlimited:
Read for freeIn this post we'll cover:
Different types of handles: does shape matter?
Japanese knives come in all shapes and sizes – and so do their handles!
From oval to D-shaped, hexagonal, or Wa-shaped, there’s a handle for every kind of knife.
But when it comes to replacing the handle, the shape isn’t as important as the way it’s fitted.
Most Japanese knives use the hidden tang design handle.
This means the metal handle isn’t visible in the handle construction at all and doesn’t extend all the way through.
Not all Japanese knives have a hidden tang design handle, though – some have full tang knives, where the metal tang extends all the way through the handle and is held in place with rivets, pins, epoxy, or a combination of these.
In the case of a full tang knife, the handle is usually held in place with rivets and pins.
To replace these handles, you’ll need to drill out the old pins or rivets and find matching ones for the new handle.
In the case of a partial tang, the handle is usually held in place with epoxy.
To replace these handles, you’ll need to grind away the old epoxy from the blade and clean it thoroughly before applying new epoxy for the new handle.
In general, most Japanese knives will have a hidden tang construction.
This makes replacing the handle much easier since all you need to do is remove the old handle and fit in a new one.
How to replace a Japanese knife handle? Step-by-step instructions
Replacing a Japanese Wa handle is not as difficult as it would appear.
In fact, it’s sometimes easier than replacing Western-style Yo handles.
If you have a knife that is no longer functional because of a broken handle, you can replace it with a new one.
The process is quite simple and requires only basic tools and materials.
You can use this guide to learn how to replace the handle on a Japanese knife.
There are 5 main steps in the rehandling process:
- Choose the new handle
- Check the sizing to ensure the right fit (comparing the size of the hole to the size of the tang)
- Remove the old handle
- Adjust the fit of the new handle
- Attach the new handle to the knife
I’ll go over each step in detail so you have step-by-step instructions you can use to rehandle your Japanese knife at home.
Don’t forget to check out this video, too, since it shows you how to rehandle the knife quickly:
Tools you’ll need
- Mallet: Used to remove the old handle and to seat the new handle in place
- Stick of wood that’s longer, wider, and thicker than your knife
- Hot water
- Epoxy or glue
- Acetone: Used to clean up any epoxy squeeze out once the handle has been fitted
- New handle that is compatible
- Heat source, preferably an open flame
- Rag: An old t-shirt or rag is useful to have around to wipe away any epoxy squeeze out when the handle is fitted to the knife.
- Vise (optional): A bench vise is great for holding the knife while you work with both hands. It’s also useful for clamping the knife while the epoxy dries.
Japanese knives can last a lifetime, as long as you take care of them properly
Step one: choose a new handle
When choosing a new handle for a Japanese knife rehandling, there are several factors to consider:
- Compatibility: Make sure the handle is compatible with the tang of your knife. You don’t want a handle that is too small or too big. Compare the size of the hole in the handle to the size of the blade’s tang.
- Material: Popular materials for knife handles include wood, micarta, and synthetic materials like G10 or Carbon Fiber. Choose a material that you like the feel of and that is durable and will stand up to heavy use.
- Style: There are many different styles of knife handles, from traditional Japanese to modern and ergonomic. Choose a style that you like and that fits your hand comfortably. Japanese handles usually have a D-shape, oval shape, or they’re octagonal.
- Comfort: A good handle should be comfortable to hold and should not slip, even when your hands are wet.
- Price: Handles can range from very inexpensive to very expensive. Choose a handle that fits within your budget, but also consider the quality of the materials and craftsmanship.
Tip: if you have another knife with a handle that fits comfortably in your hand, use it as a reference to find a similar size handle for your Japanese knife.
Remember to also consider the overall look and feel of the handle, as well as the final result you are trying to achieve.
Step two: sizing
The next step is to find a handle that fits in place of the knife’s old handle. To do this, your tang and handle must be the same size.
It’s now time to check the sizing to ensure the right fit. This is done by comparing the size of the hole to the size of the tang.
The tang is the metal part of the knife that extends into the handle. To find out what size your tang is, you need to measure it with a measuring tape or ruler.
You’ll also need to measure the width and depth of the hole in your old handle so you can make sure that the new handle will fit in it.
The most important thing to remember is that the tang and hole should be the same size.
If the sizes don’t match, you may need to grind down one or the other, so they line up properly.
Step three: remove the old handle
For some, this is the hardest part, but most Japanese handles are quite easy to remove.
Most knife handles can be removed by soaking them in hot water for several minutes to loosen any glue.
Alternatively, you can place the knife in the oven for a few minutes to heat and loosen the glue.
Now, the next step involves using a mallet and a piece of wood to separate the handle from the tang.
To remove the old handle, you need to use a stick of wood and a mallet. The stick of wood should be slightly thicker than the tang, so it can fit properly into the hole in the handle.
Now line the wood up with the blades so it contacts the bottom of the handle, and hold it carefully, keeping your hand away from the edge.
Basically, all you do is place the stick of wood over the tang and tap it gently with a mallet until it starts to loosen.
Continue tapping until the handle comes off completely.
Keep tapping firmly on the top of the wood, and if the handle comes off, congratulations, you just learned how to remove the old handle.
You may need to use more force depending on how tightly the handle is held in place.
Once you have removed the old handle, inspect it to make sure there are no sharp edges or points that can cut your hand while replacing the new one.
Step four: adjust the fit of the new handle
In order for the knife tang to fit the handle properly, you have to deal with sizing again.
You’re going to test if the tang fits into the hole of the new handle. If it doesn’t, you’ll have to grind the tang down until it fits.
Begin by cleaning off the tang with a rag or cloth to remove any debris from the old handle (usually glue).
It’s important to clean the tang of the knife with attention to detail to make it as pristine as possible.
All old adhesives and bits of wood must be cleaned completely from the tang.
Finally, wipe the tang down with some acetone to remove any grease or oils from your skin that may have transferred to the metal.
Now you can use a file to increase the size of the hole slowly until it fits.
This can take some time, so you should make sure you have a file that is suitable for the task. You can also use a small sander for this process.
My favorite method of getting the tang to fit is the following: (NOTE: THIS METHOD IS FOR WOODEN HANDLES ONLY)
I heat the tang up using a flame on the stove or a burner and then put it back in the wooden handle.
This burning process makes the tang fit into the wood better, and the wood is prepped for the new handle, so the whole thing takes less time and effort.
If the hole of the handle is too big, you must fill it using a bit of epoxy (glue) or melted plastic chips.
Make sure the tang fits to the correct depth before you fill the hole with glue or plastic.
You should also check if the handle is level when you place it against the blade.
This just means the tang has to line up with the handle on the x and z axis.
Step five: attach the new handle
It’s finally time to attach the new handle.
To do this, you have to fill the hole with either epoxy glue or melted plastic chips. It’s also possible to use small slices of a gluestick.
Once you’ve inserted your adhesive of choice, you place the tang over an open flame to heat it thoroughly.
Once hot, you place the tang into the hole of the handle, pushing until it goes in fully.
Allow the adhesive to melt and set properly before moving the handle.
Wipe away any excess glue, epoxy, or hot plastic that has squeezed out after placing the tang into the new handle using a rag.
What type of glue is best for attaching the tang to the handle?
Knifemakers know that epoxies are the way to go when it comes to gluing knife handles.
Epoxy is a two-part adhesive that cures very quickly and provides a strong bond between the knife tang and handle.
Epoxy is also water-resistant, so you don’t have to worry about the handle coming loose or becoming damaged by moisture.
West Systems G-Flex is the industry standard. It’ll fully cure in 7-10 hours, so make sure to leave it overnight.
Don’t try to use super glue – it’ll just become brittle and break.
Clean up any glue with acetone, and you’re good to go!
How are Japanese knife handles attached?
Japanese knife handles are attached in a unique way.
Instead of using rivets like western knives, the blade is heated and then hammered into a handle made of wood.
The heat helps the wood to form a tight bond with the blade, so it won’t come off easily.
To make it even more secure, resin is added to the wood, providing an extra adhesive layer.
For higher grade knives, a water-buffalo horn cap is added to the handle for decoration.
The horn is carefully ground and buffed to make sure there are no gaps between the wood and the cap.
This process is time-consuming and adds to the cost of the handle. So, if you want a fancy handle, be prepared to pay a bit extra!
Should I rehandle a Japanese knife?
Knife repair and restoration is a great way to bring life back to your beloved blades.
Whether you have a family heirloom that needs a bit of TLC or a gyuto that’s seen better days, a skilled restorer can make it look like new.
Therefore, it’s worth changing and rehandling the knife once the handle is worn down or damaged.
This can save you a lot of money, especially if you have expensive Japanese knives.
When it comes to restoring a Japanese knife handle, the process is slightly different.
You’ll need to find a replacement handle that’s the same size and shape as the original.
It’s also important to make sure the handle is made from the same material, as different materials require different care.
Once you’ve found the right handle, it’s time to get to work.
There are so many handles you can buy online, and they vary in price.
It’s probably a lot cheaper than buying a new knife, so replacing the handle is a great way to extend the life of your favorite knives.
Takeaway
When it comes to replacing a Japanese knife handle, it’s important to remember that it’s not as difficult as it may seem!
With the right tools and a bit of patience, you can easily do it yourself.
You first remove the old handle using the good old wood and mallet method.
Then you clean and grind the tang to make it fit, fill the hole with glue and heat the tang, so it melts the adhesive when it’s placed back into the hole of the new handle.
Just make sure to take your time and follow the instructions carefully. And don’t forget to have FUN with it!
After all, you’re the one who gets to show off your new and improved knife handle to all your friends.
So, go ahead and give it a try – you won’t regret it!
Now you have a brand new handle, it’s probably also time to take out the whetstone and sharpen your Japanese knife before use
Check out our new cookbook
Bitemybun's family recipes with complete meal planner and recipe guide.
Try it out for free with Kindle Unlimited:
Read for free
Joost Nusselder, the founder of Bite My Bun is a content marketer, dad and loves trying out new food with Japanese food at the heart of his passion, and together with his team he's been creating in-depth blog articles since 2016 to help loyal readers with recipes and cooking tips.