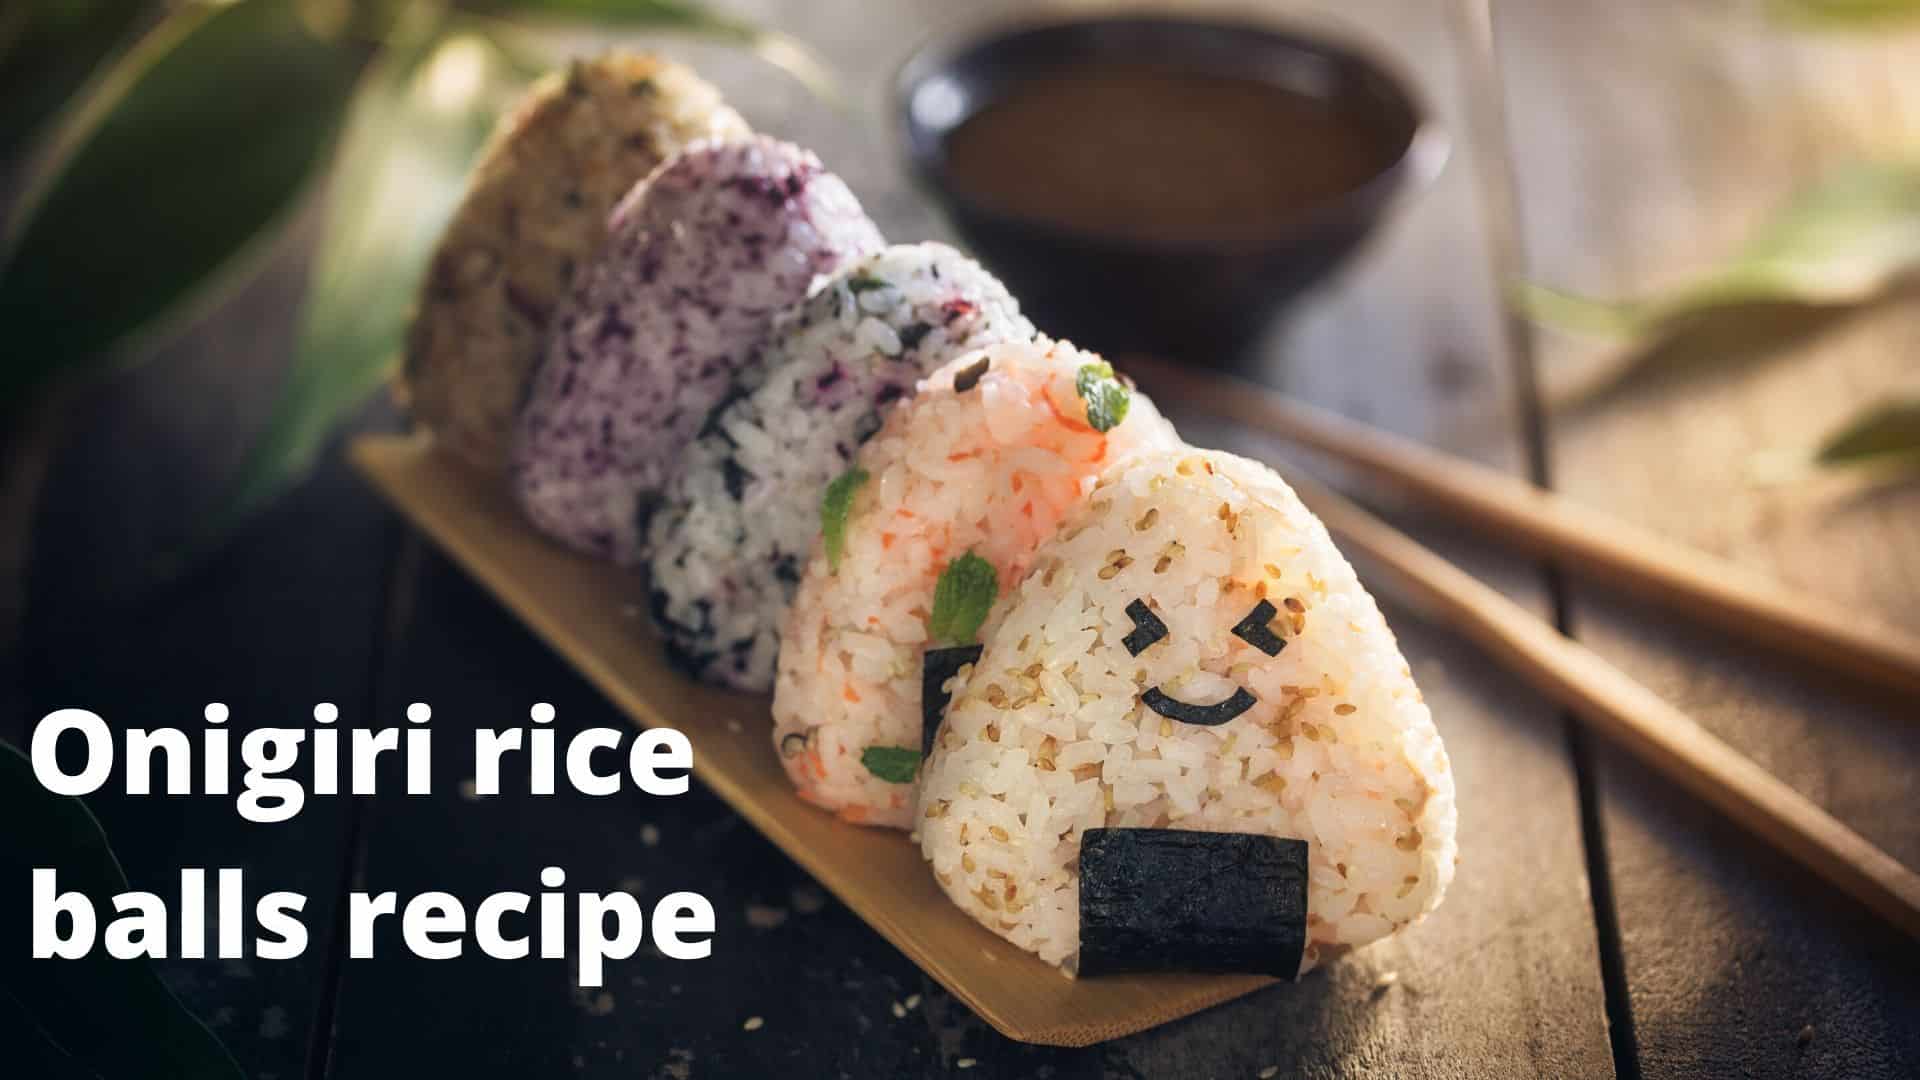
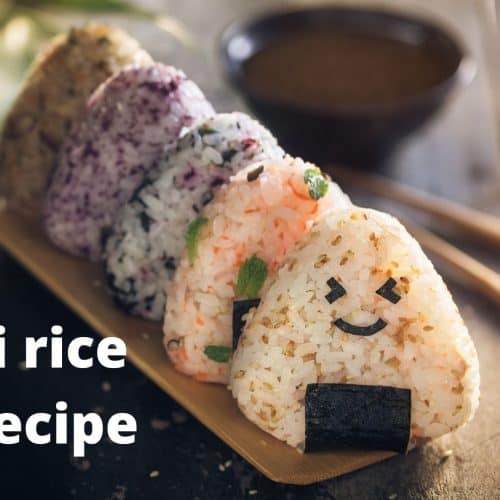
Japanese Salmon & Ume Onigiri Recipe (Pickled Plum)
Want a quick snack? Then you just might like Japanese onigiri rice balls!
However, did you know that making Japanese rice balls at home is easy and irresistibly economical?
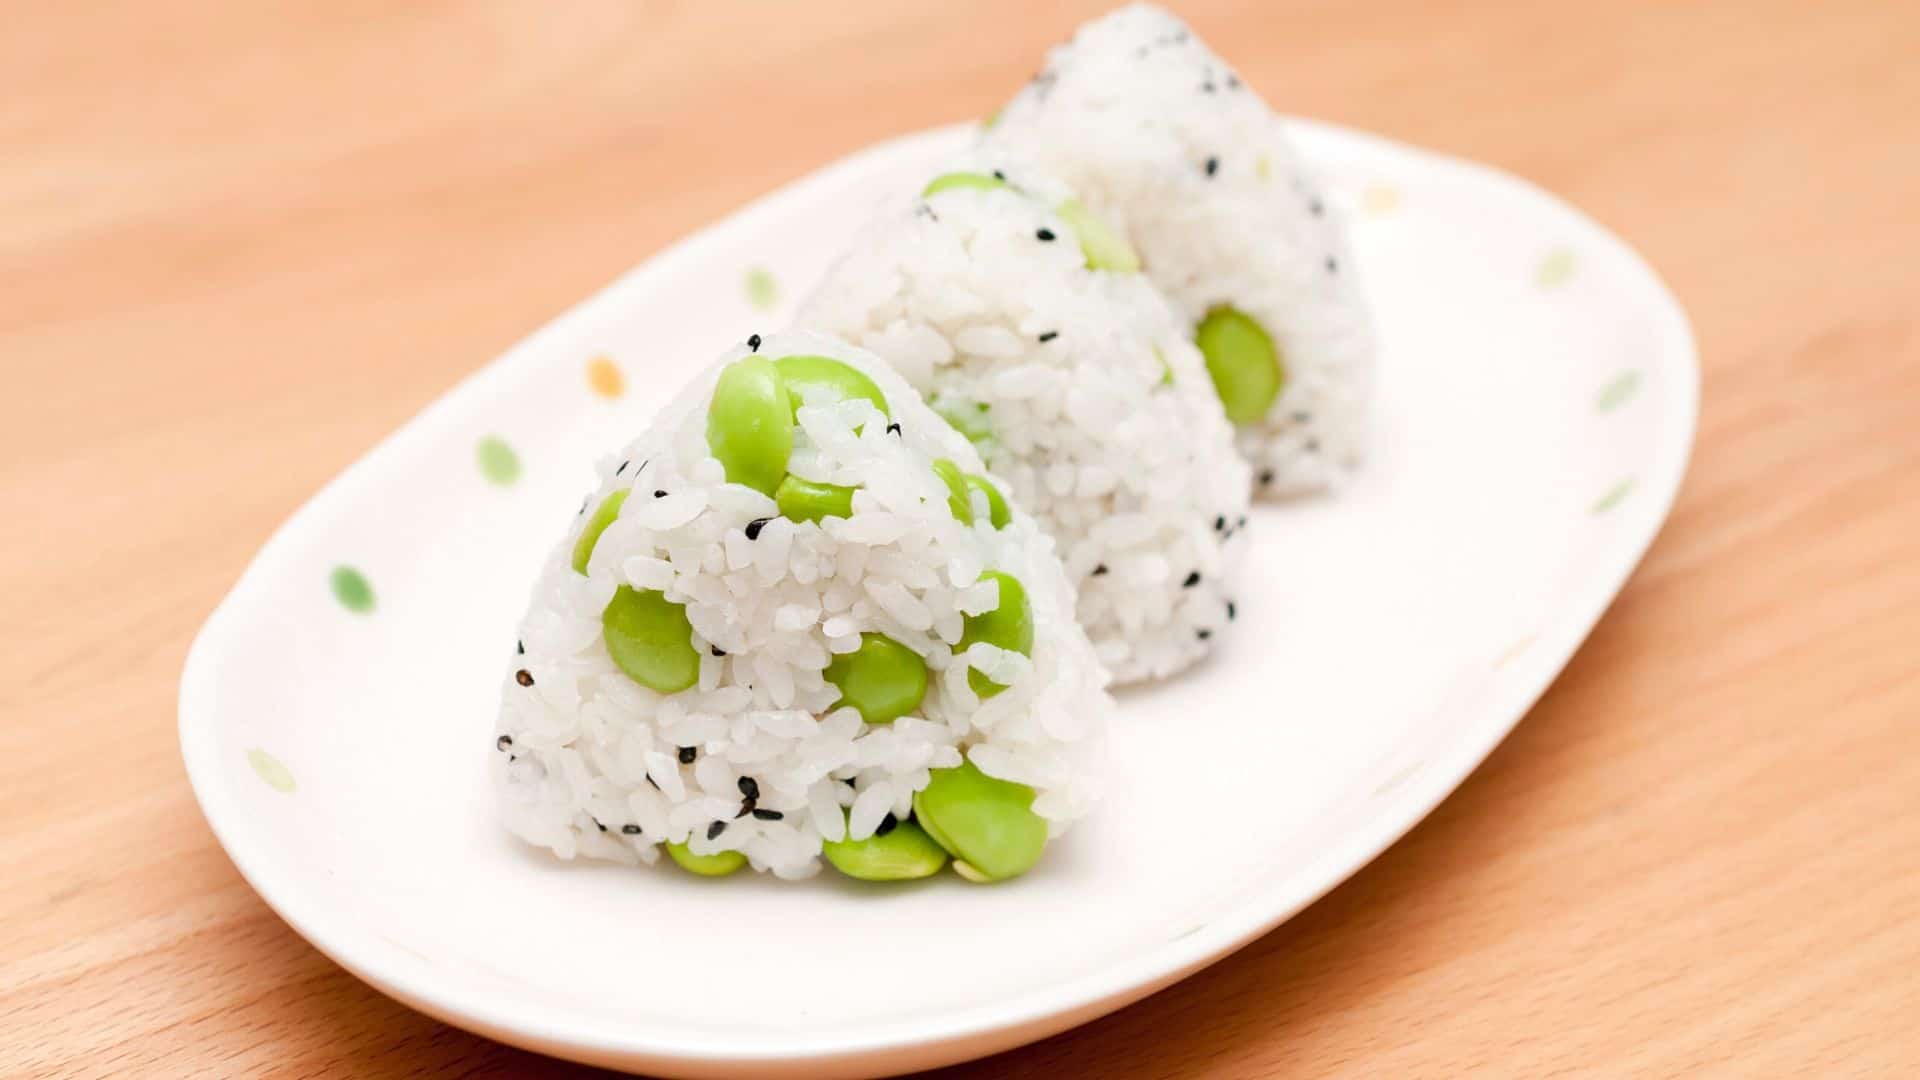
You can opt to mix the rice with flavors like furikake, which is Japanese salt and pepper and consists of sea salt, sesame seeds, bonito flake, nori, and a pinch of sugar, which is mostly optional.
Typically, Japanese rice balls are wrapped in nori (dried seaweed) or rolled in sesame seeds. You can also consider topping your onigiri with shichimi togarashi, a Japanese spice made out of orange peels, ground sesame seeds, and chili pepper.
But today, we’re going to make a classic ume and salmon onigiri:
Check out our new cookbook
Bitemybun's family recipes with complete meal planner and recipe guide.
Try it out for free with Kindle Unlimited:
Read for freeIn this post we'll cover:
Salmon & Ume Onigiri Rice Balls Recipe
Ingredients
- 4 cups Japanese sushi rice steamed
- 1 dash salt to taste
- 1 tsp black sesame seeds optional
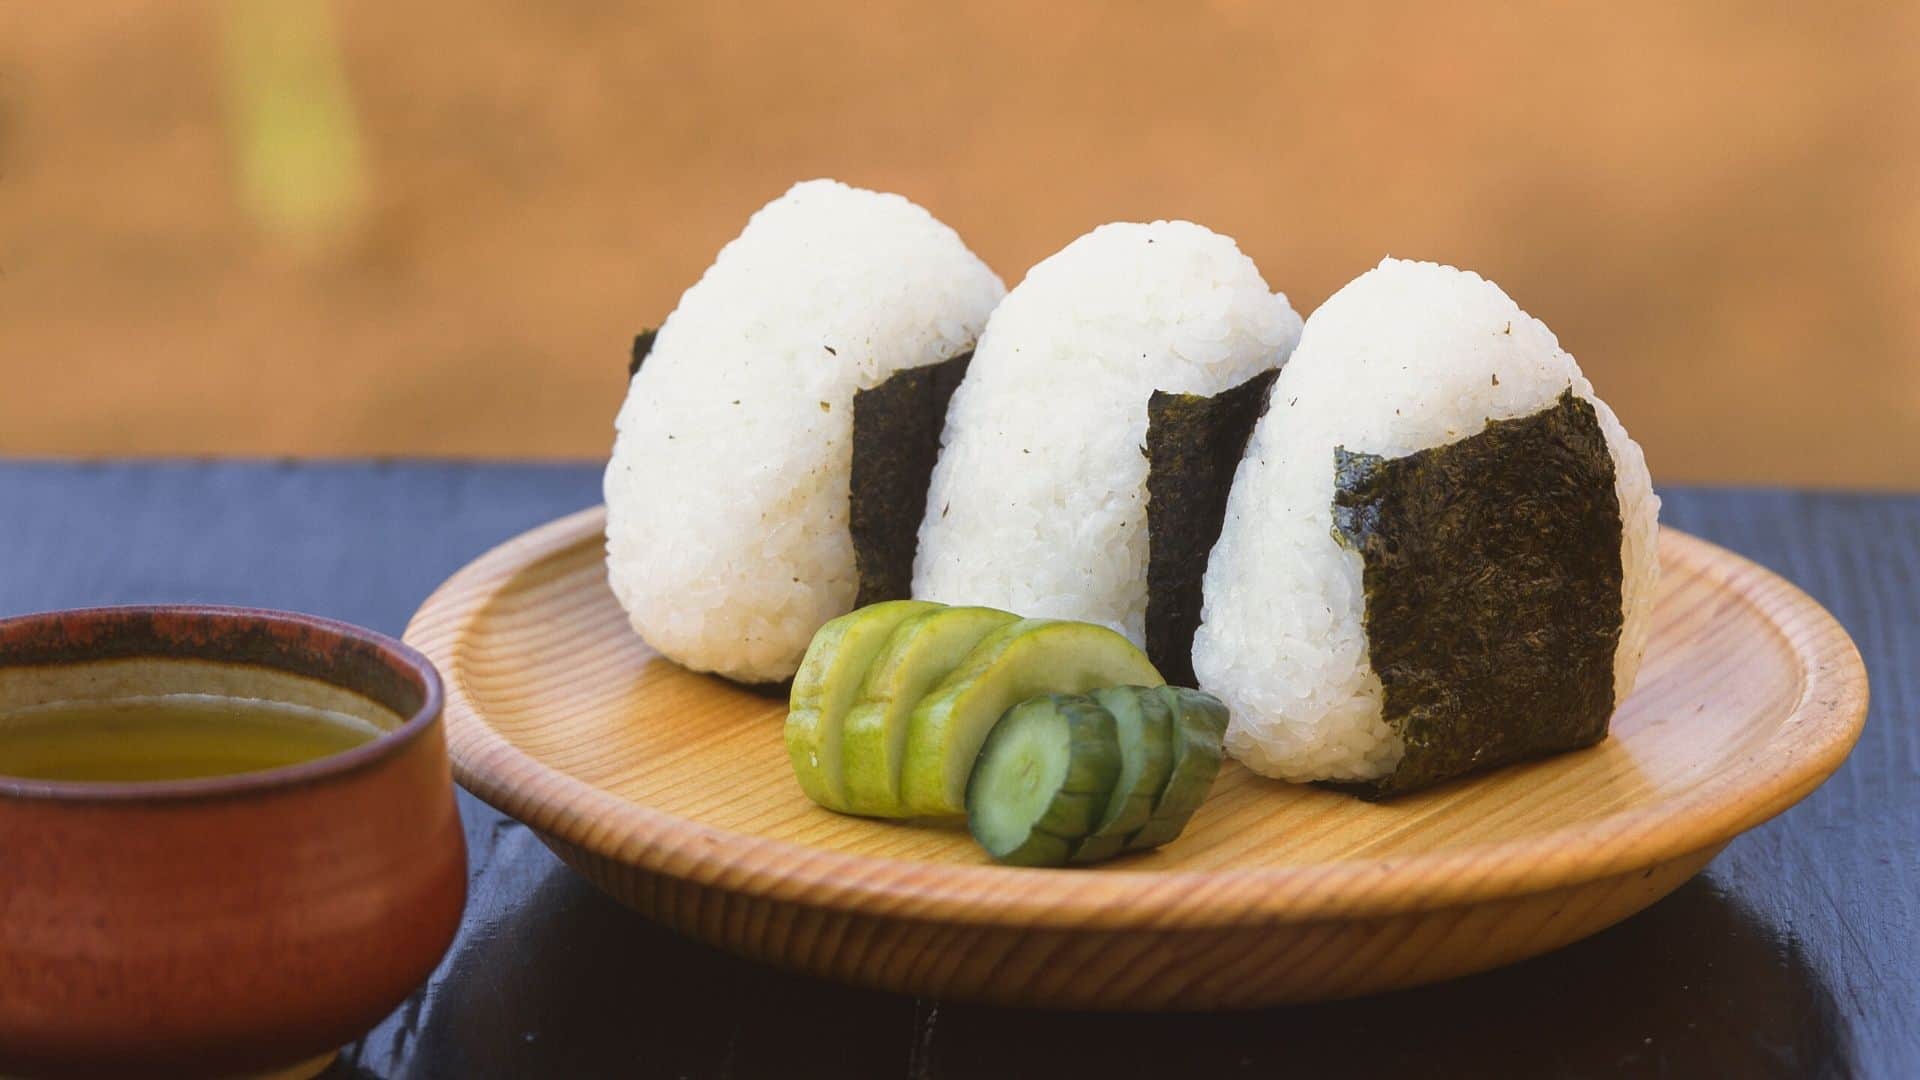
- 2 sheets nori seaweed
FOR THE FILLINGS
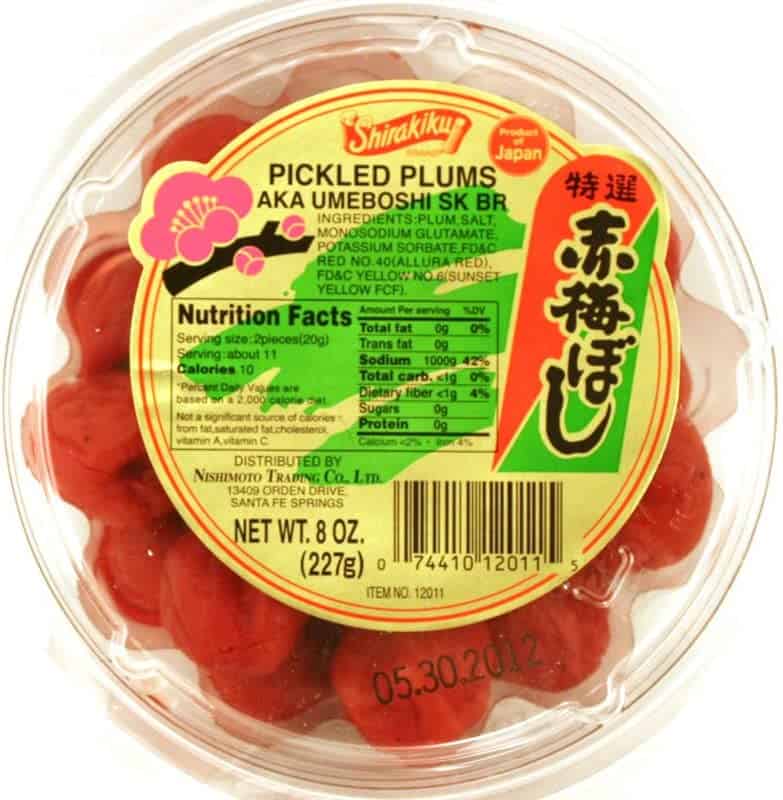
- ½ cup umeboshi (pickled plum)
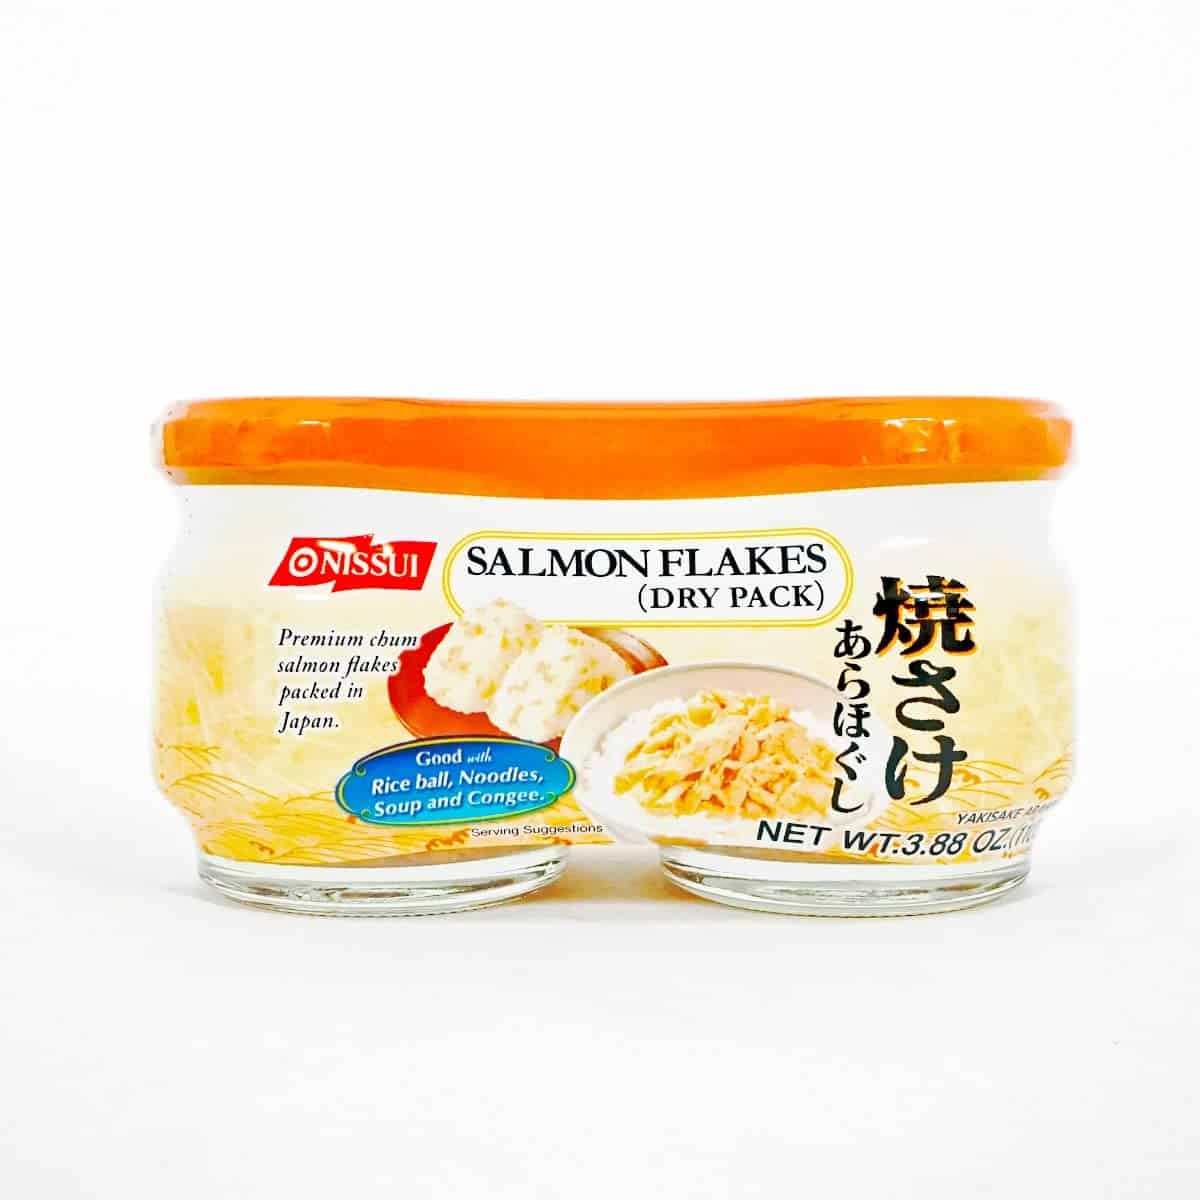
- ½ cup grilled salted salmon
Instructions
- Steam the rice in a rice cooker or cooking pot for 8 minutes. Drain and let it cool off
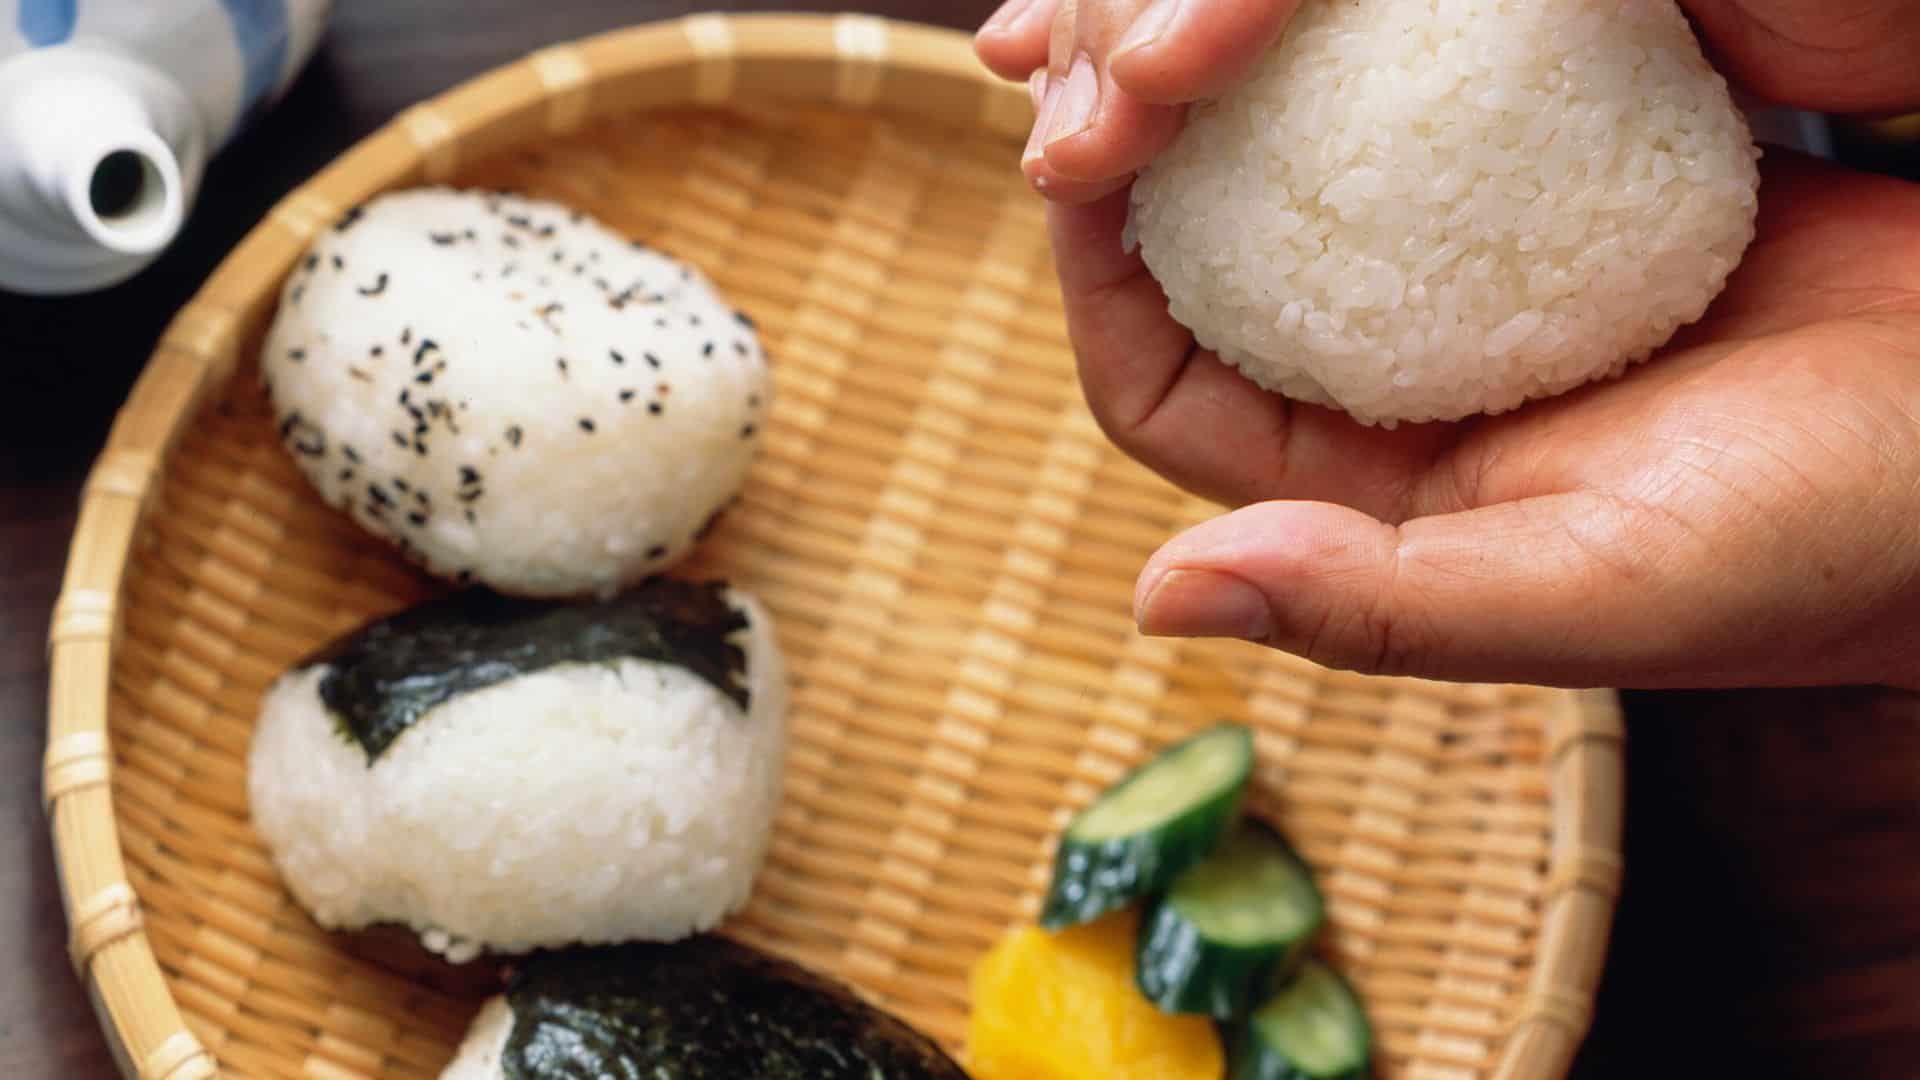
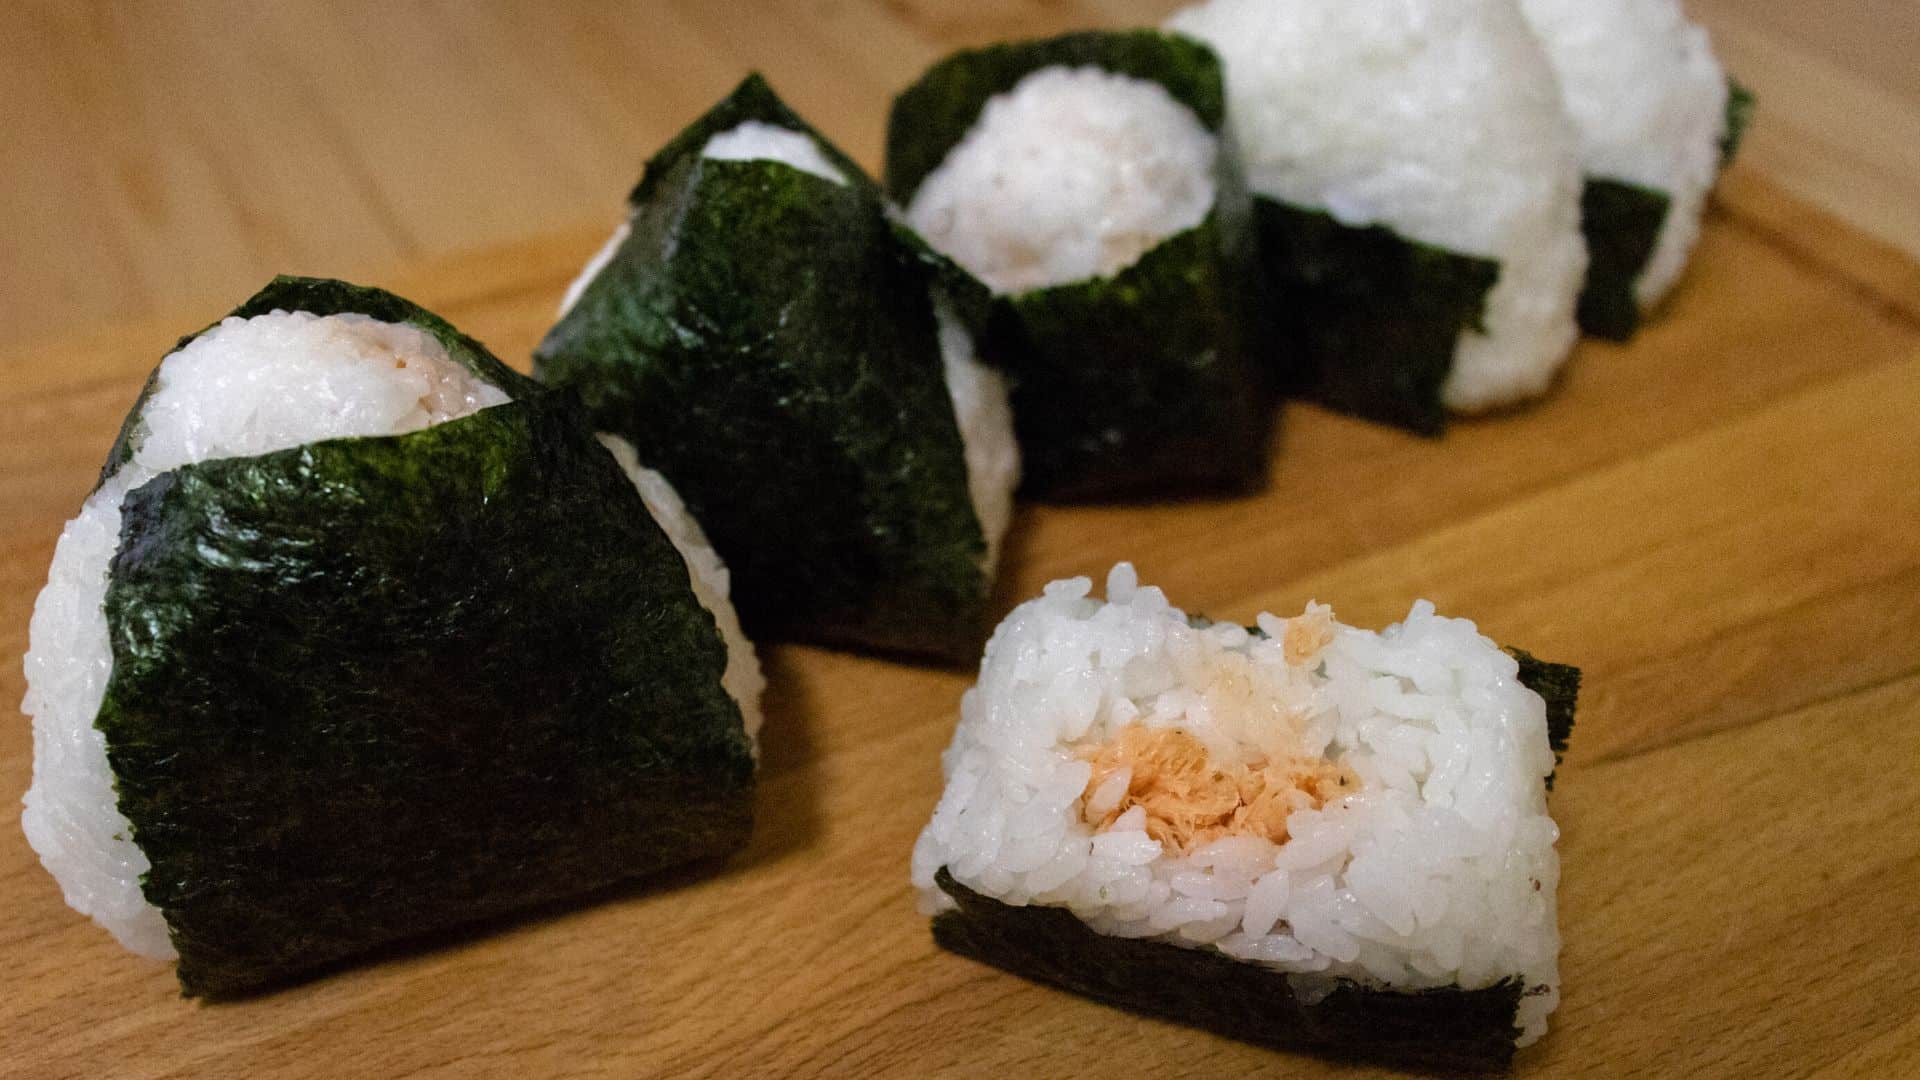
- Meanwhile, cut the nori sheet into 8 – 9 strips, and then put around ½ cup of steamed rice in a rice bowl.
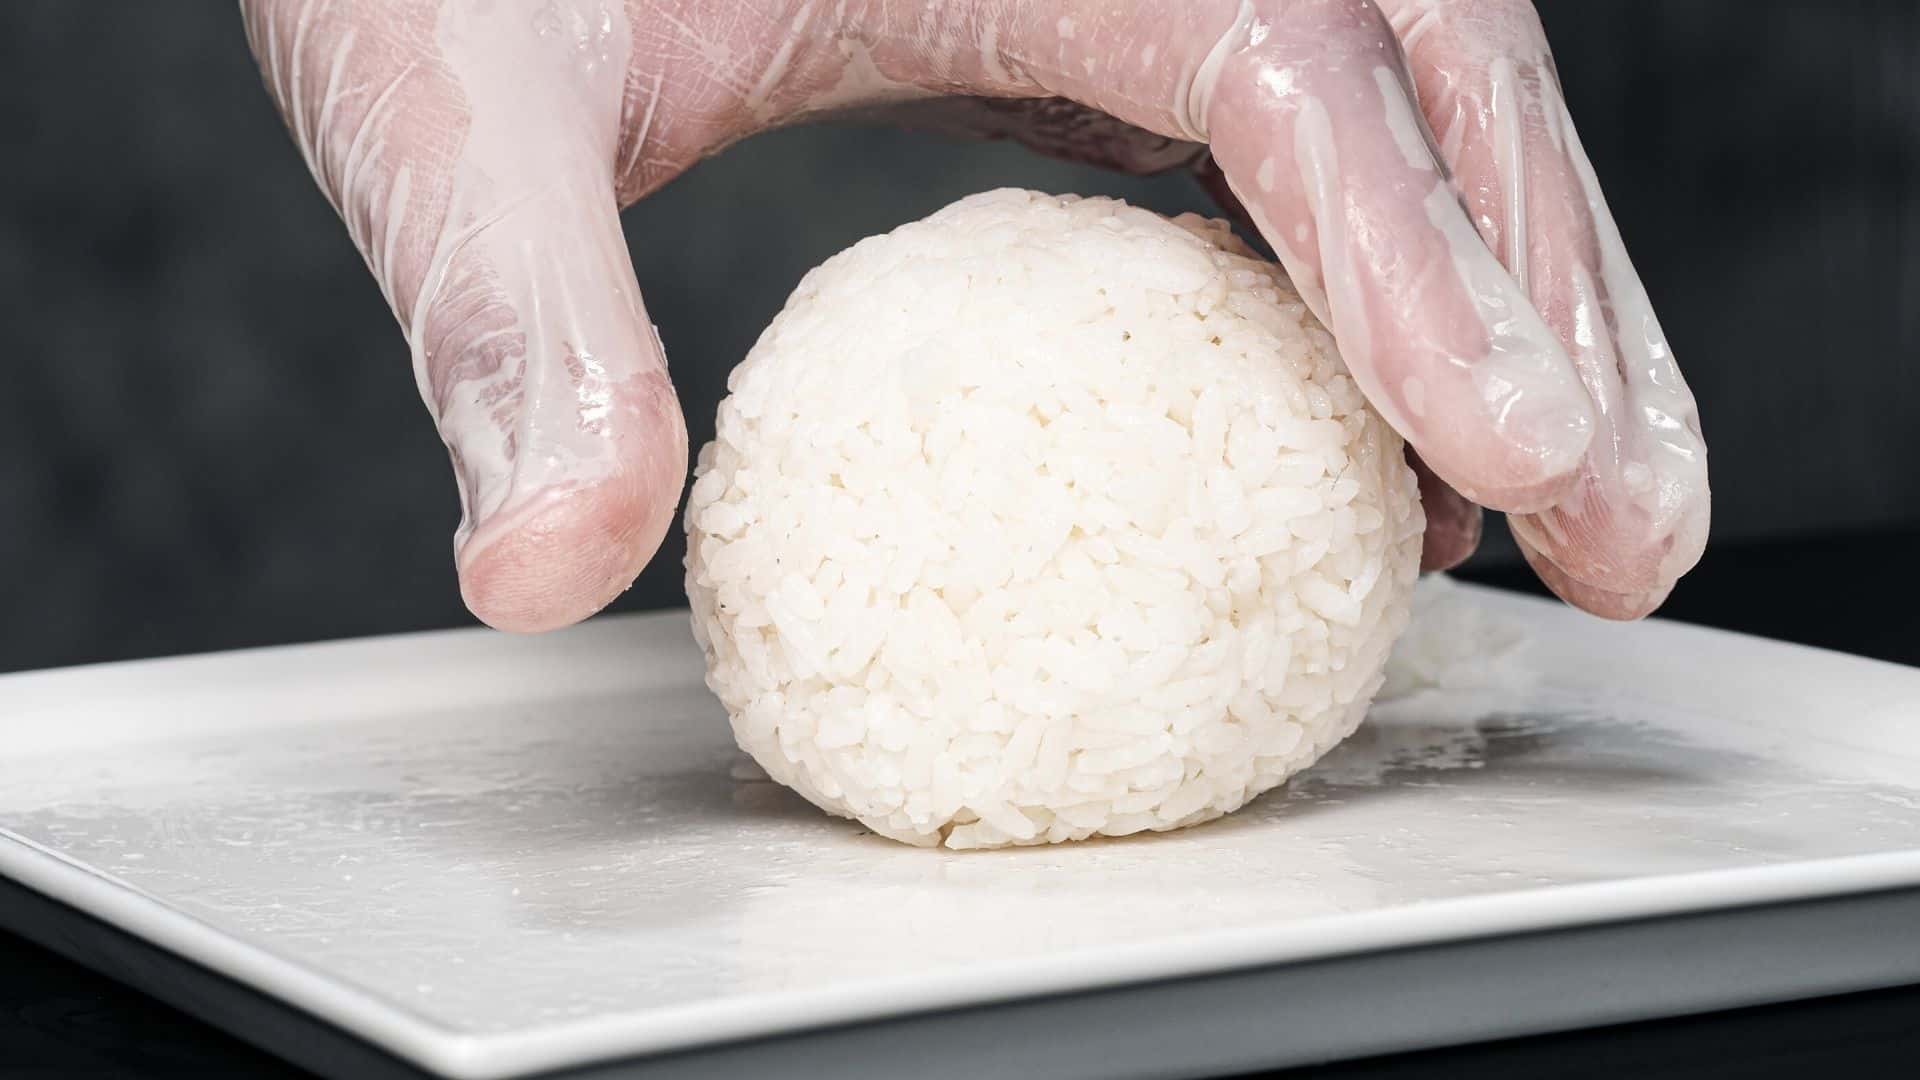
- Make sure that you wet your hands with water to prevent the rice from sticking.
- Rub your hands with some salt.
- Now place the steamed rice on your hand, and make sure that it's thick and dense.
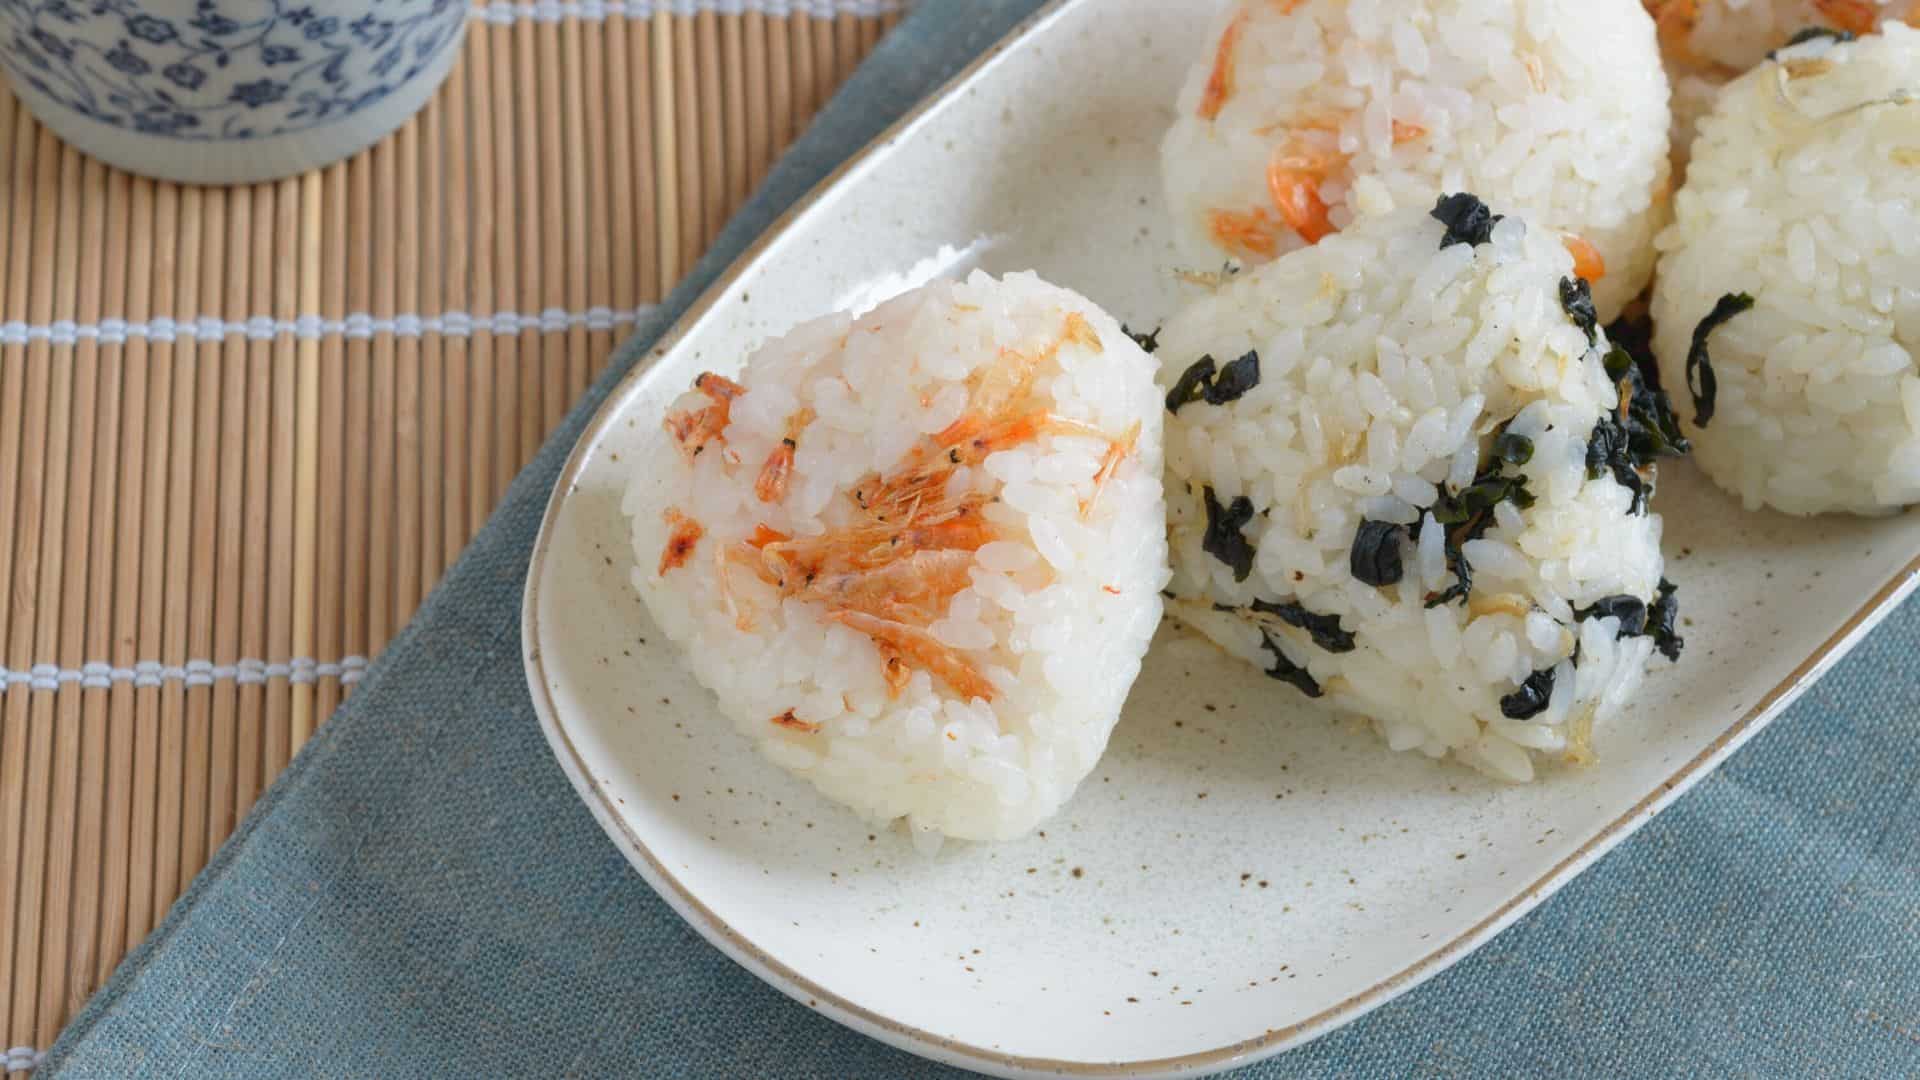
- You can now put your fillings on the rice, like grilled salmon or umeboshi. Then, push the fillings into the rice a bit.
- Next, hold the rice between your palms. Press it lightly using both palms to form a round, cylinder, or triangle shape, and then roll the rice ball with your hands, pressing it lightly.
- Using a strip or 2 of nori, wrap the rice ball or even sprinkle some sesame seeds on them.
- Serve.
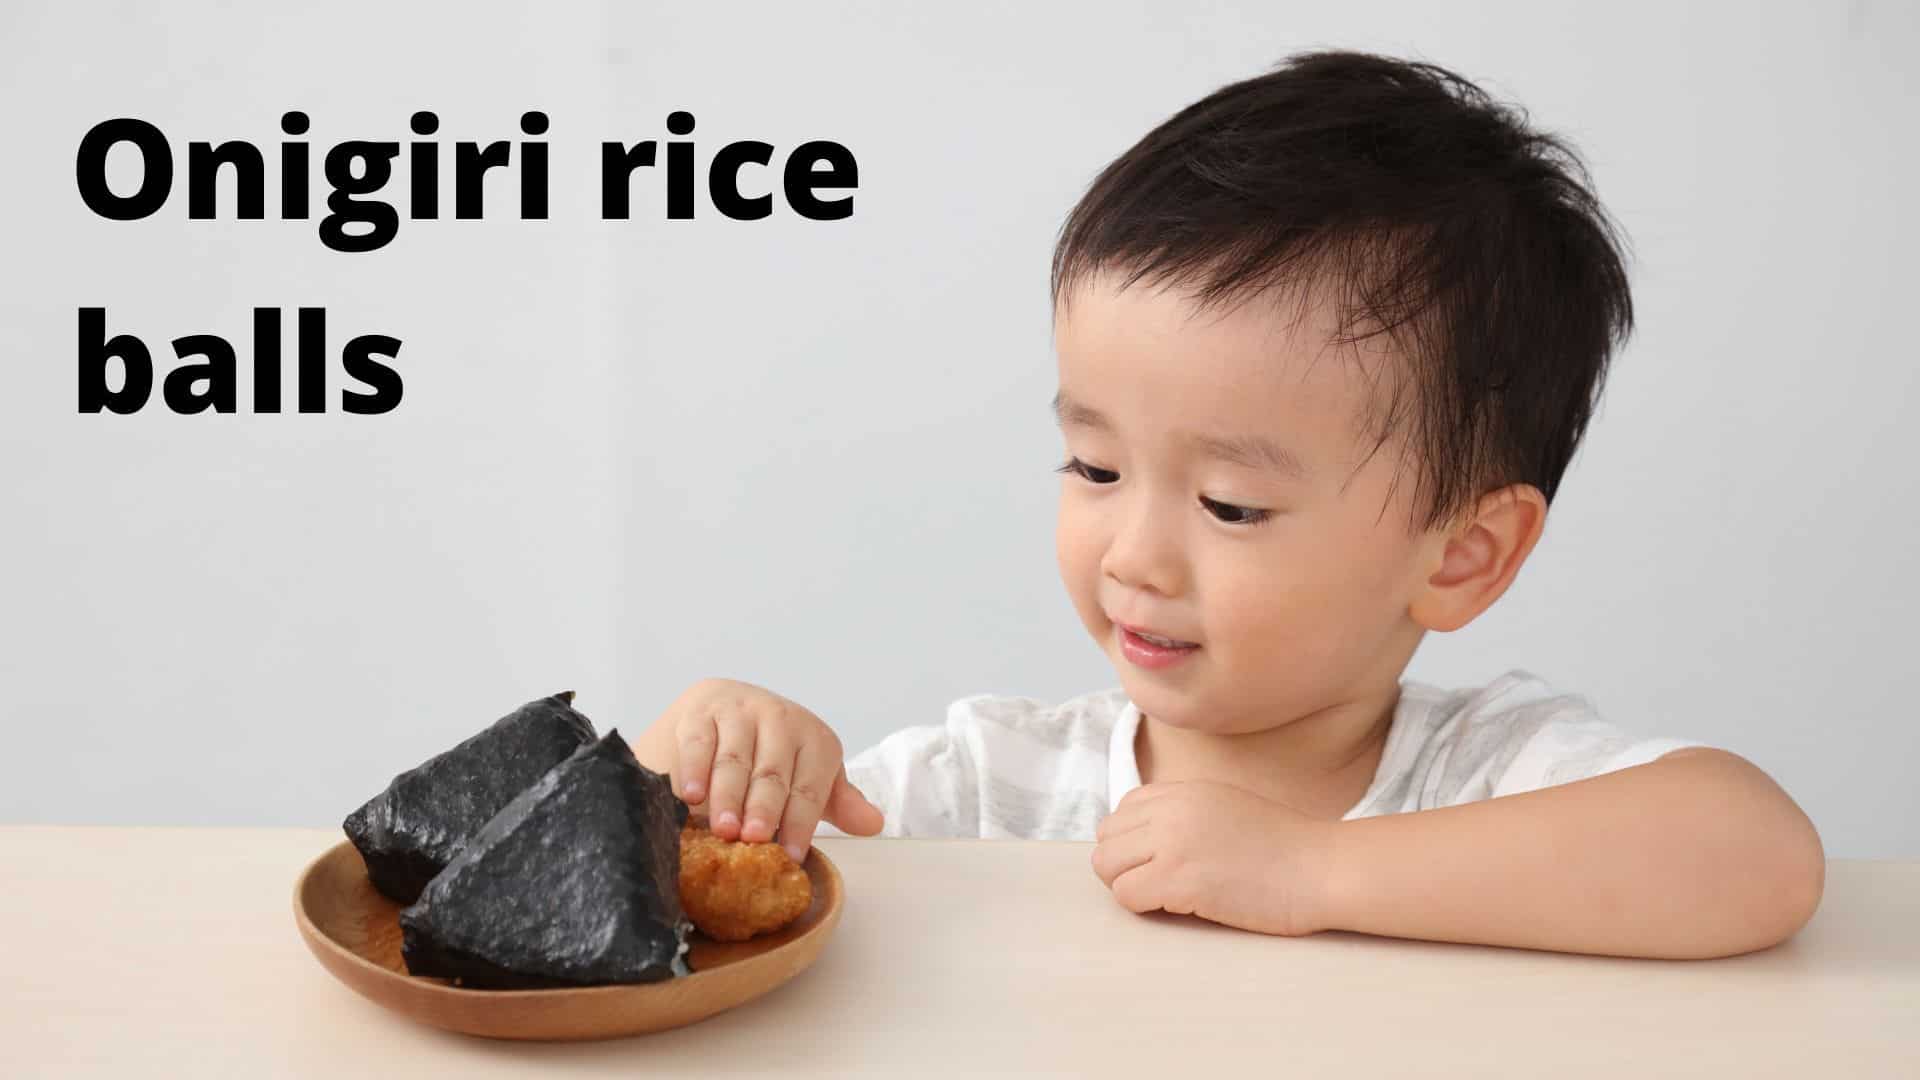
- And of course, if you like smiley faces for kids (or childlike dinner guests!), cut some of the nori into eyes and a smiling mouth for the triangle.
Video
Favorite ingredients
Umeboshi is the perfect onigiri ingredient because it gives a little sourness and saltiness to every bite. Getting the right umeboshi can be tricky, though as there are many varieties.
I like this Shirakiku umeboshi because it gives a little hint of sweetness as well that really makes your palate stop and process all the flavors for a while:
The best salted salmon to use is freshly made shiozake, but that can be pretty time-consuming. If you’d like to create a quick bite, these dried salted salmon flakes from Nissui are amazing as well:
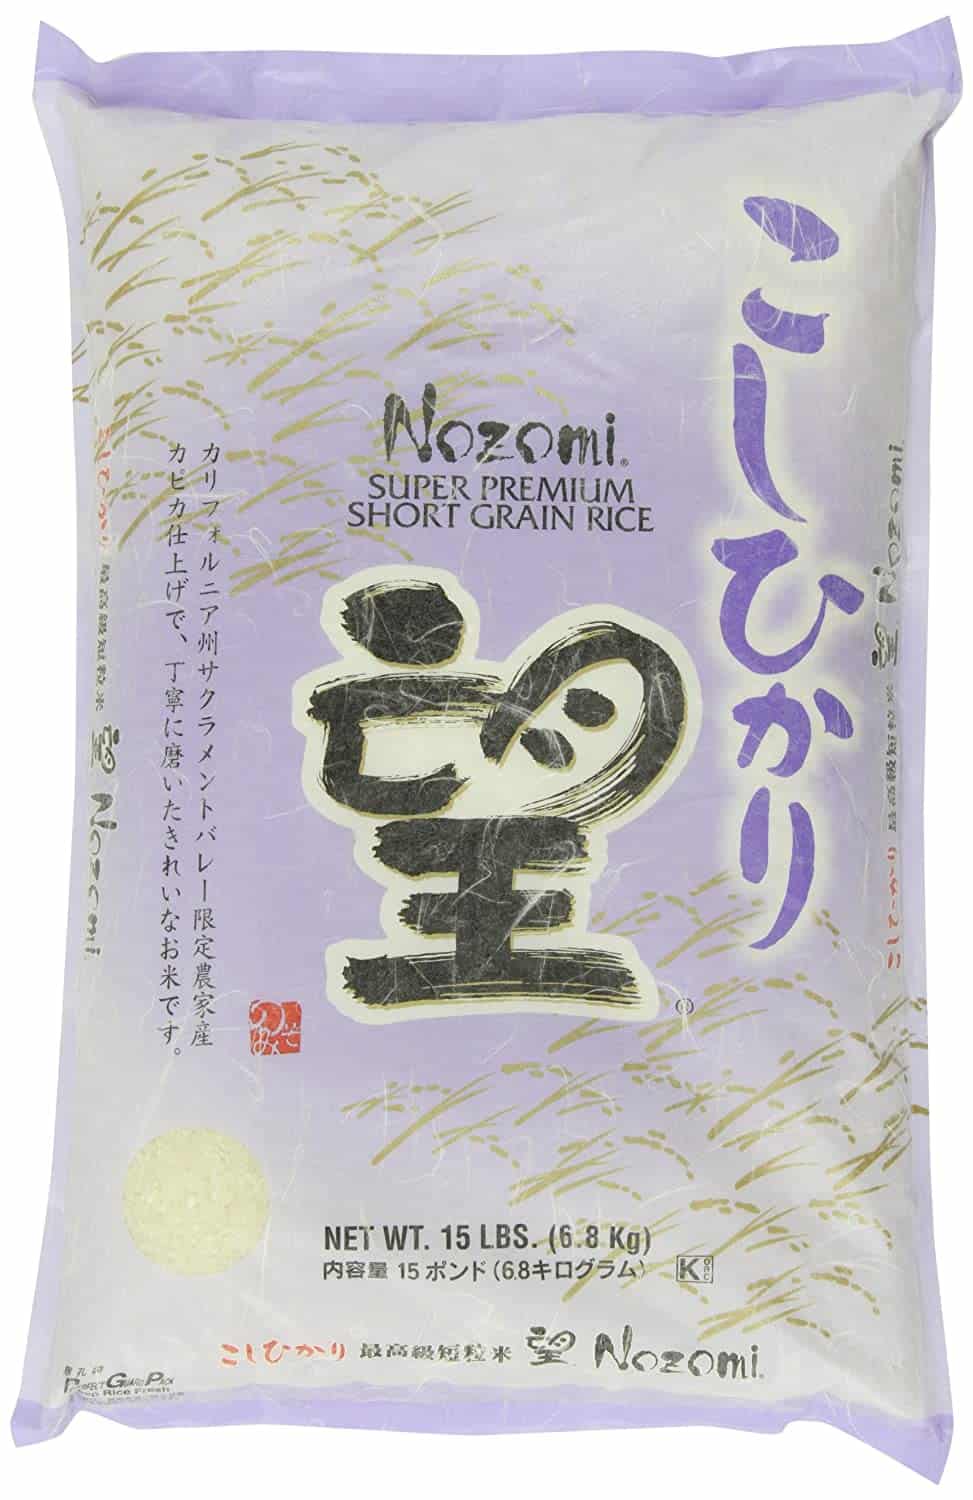
Onigiri is easiest to make if you have rice with the right stickiness that’s easy to mold into shapes. That’s why I use this Nozomi short grain rice to make them:
Tips and techniques for making Japanese rice balls
Always make sure to use freshly cooked rice
This is the key step that’ll ensure you get the perfect onigiri results! Before making the rice balls, allow your rice to cool slightly.
However, the rice needs to be warm, but not cold when preparing.
Make your hands wet
Always make sure that you wet your hands with water. This prevents the rice from sticking to your hands.
You should always have a bowl of water on your countertop, as this makes things easier!
Rub some salt on your hands
You should salt both your hands and then rub them to spread the salt evenly. This assists in preserving the onigiri, as well as flavoring the rice balls.
Apply a considerable amount of pressure
Don’t apply too much pressure on your rice. This prevents the rice from falling apart as you shape your rice balls. You can opt to shape them into a typical ball, cylinder, or even triangle-shaped onigiri like these.
Avoid squeezing the rice too tight.
Use a kitchen towel to preserve them if you want to use them the following day
If you’re preparing the rice balls for lunch the next day, but you don’t want to prepare them the day of, you can use the following trick. Wrap the finished products in plastic wrap, and then wrap them using a kitchen towel.
This protects the rice ball from being excessively cold as you keep them in your fridge. It’s important to note that rice gets hard when refrigerated. But this easy trick will ensure that your rice balls stay cool and safe.
Also read: these are the best onigiri recipes we’ve made over the years
Substitutes for ume onigiri
There aren’t that many ingredients to substitute here, but if you want a similar flavor profile to this recipe, here are a few options:
Umeboshi pickled plum substitute for onigiri
You would think the umeboshi would taste sweet because of the plum, but it’s more salty and sour, although there are some sweeter varieties.
Substituting it in this recipe would be tough because you need not only the flavor but also the consistency.
I would use a little plum jam if you like it on the sweeter side. Experiment with it, but use a lot less and add a little vinegar and make sure to salt the rice a bit more than usual.
Salted salmon substitute for onigiri
The Japanese salted salmon is called shiozake and it really is salty and strong in flavor. You can just use smoked salmon and you’ll have a delicious onigiri ball, but it wouldn’t taste the same.
If you don’t mind, I don’t either :)
Recipe variations
When following this recipe, it’s important to note that the fillings can vary. You should use your favorite ones! You can put almost anything you want in Japanese rice balls.
Try putting pickled plums, grilled salmon, pork, beef, dried bonito flakes (katsuobushi) with soy sauce seasoning, turkey, or tuna with mayonnaise.
If you feel like you want a warm meal, just toast your rice balls lightly for 2 – 3 minutes on each side on a pan drizzled with sesame oil. The external layer of the rice will become toasty, golden brown, and a bit crackly.
Also read: these are the different types of Japanese ramen you might’ve eaten at some point
Check out our new cookbook
Bitemybun's family recipes with complete meal planner and recipe guide.
Try it out for free with Kindle Unlimited:
Read for free
Joost Nusselder, the founder of Bite My Bun is a content marketer, dad and loves trying out new food with Japanese food at the heart of his passion, and together with his team he's been creating in-depth blog articles since 2016 to help loyal readers with recipes and cooking tips.
