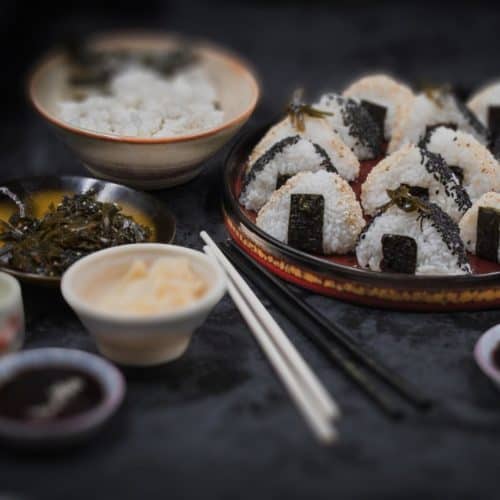
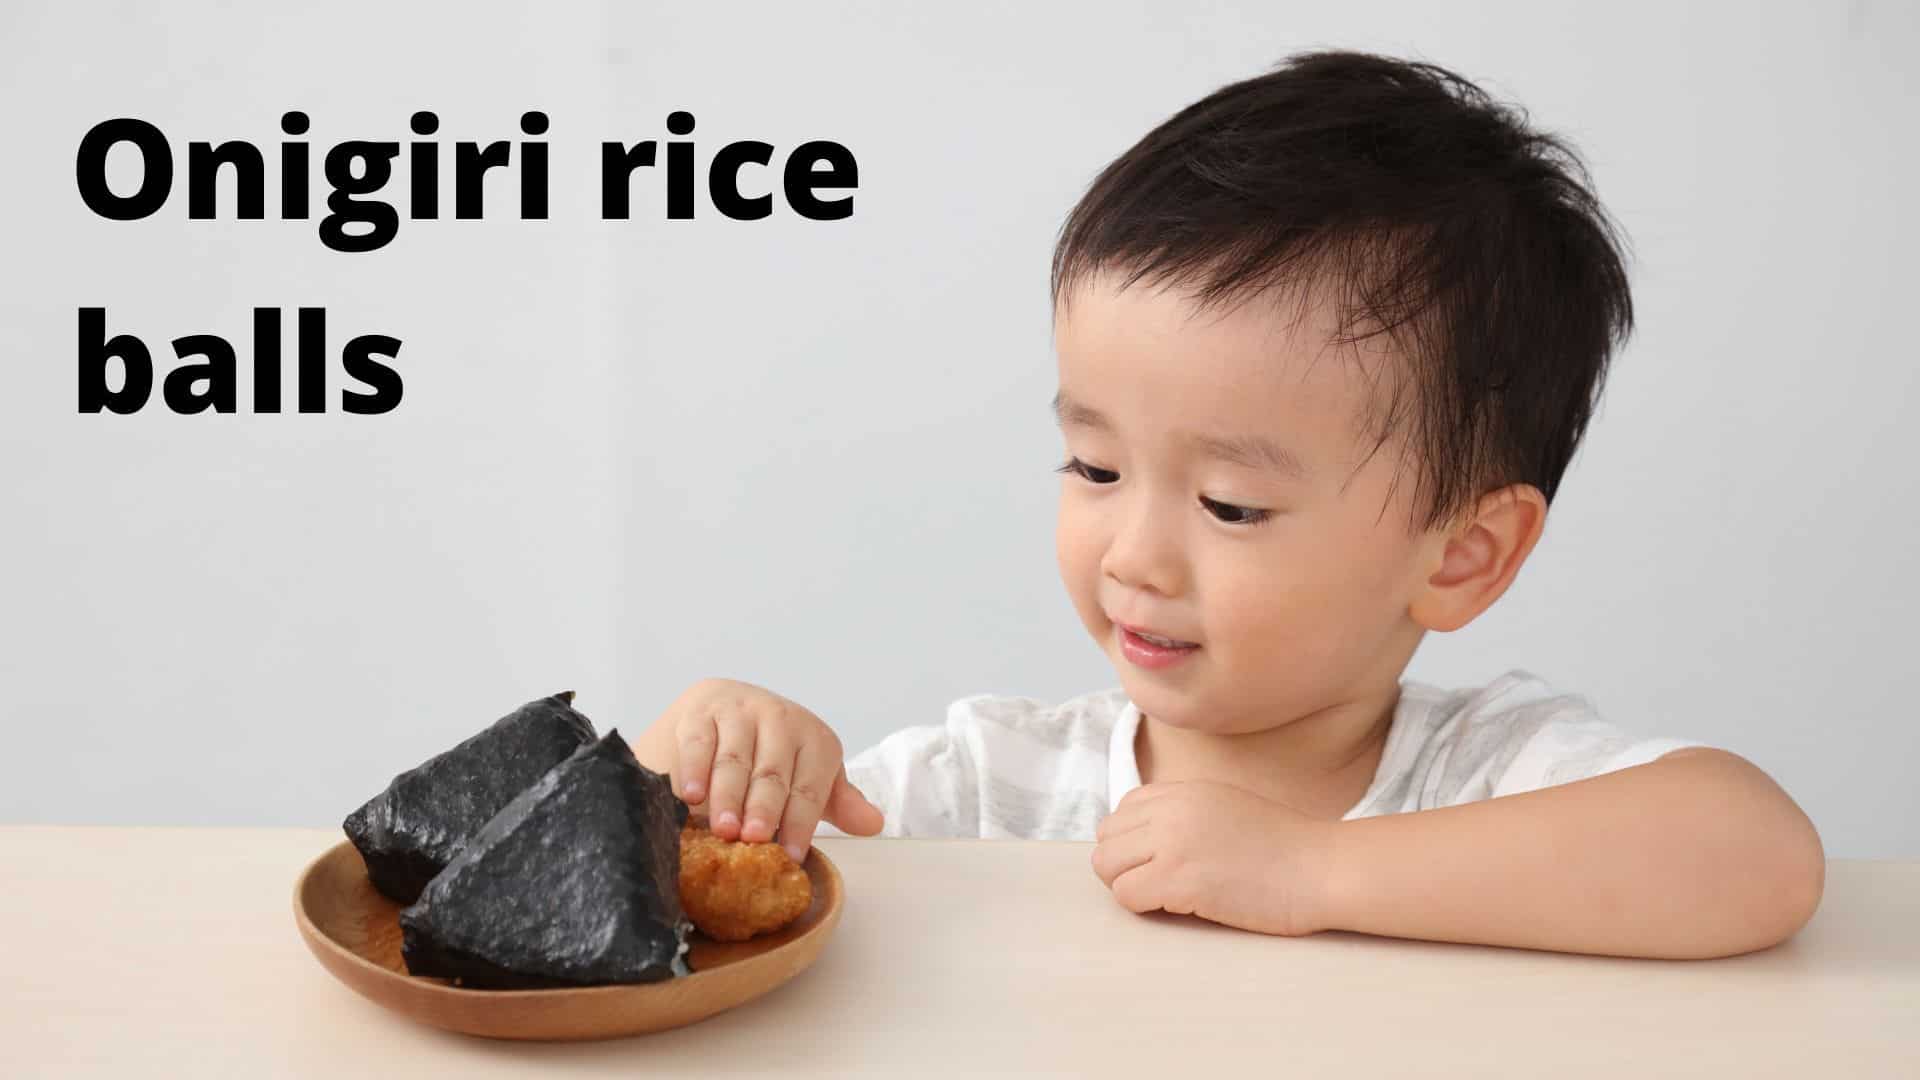
Seasoned Kombu Onigiri: Salty And Crunchy Bite Recipe
Seasoned kombu is not like regular kombu at all! It’s crunchy and salty, not the chewy kind.
And this makes it the perfect pair for our onigiri rice balls, so let’s make some!
Check out our new cookbook
Bitemybun's family recipes with complete meal planner and recipe guide.
Try it out for free with Kindle Unlimited:
Read for freeIn this post we'll cover:
How to make seasoned kombu onigiri
Seasoned Kombu Onigiri Recipe
Ingredients
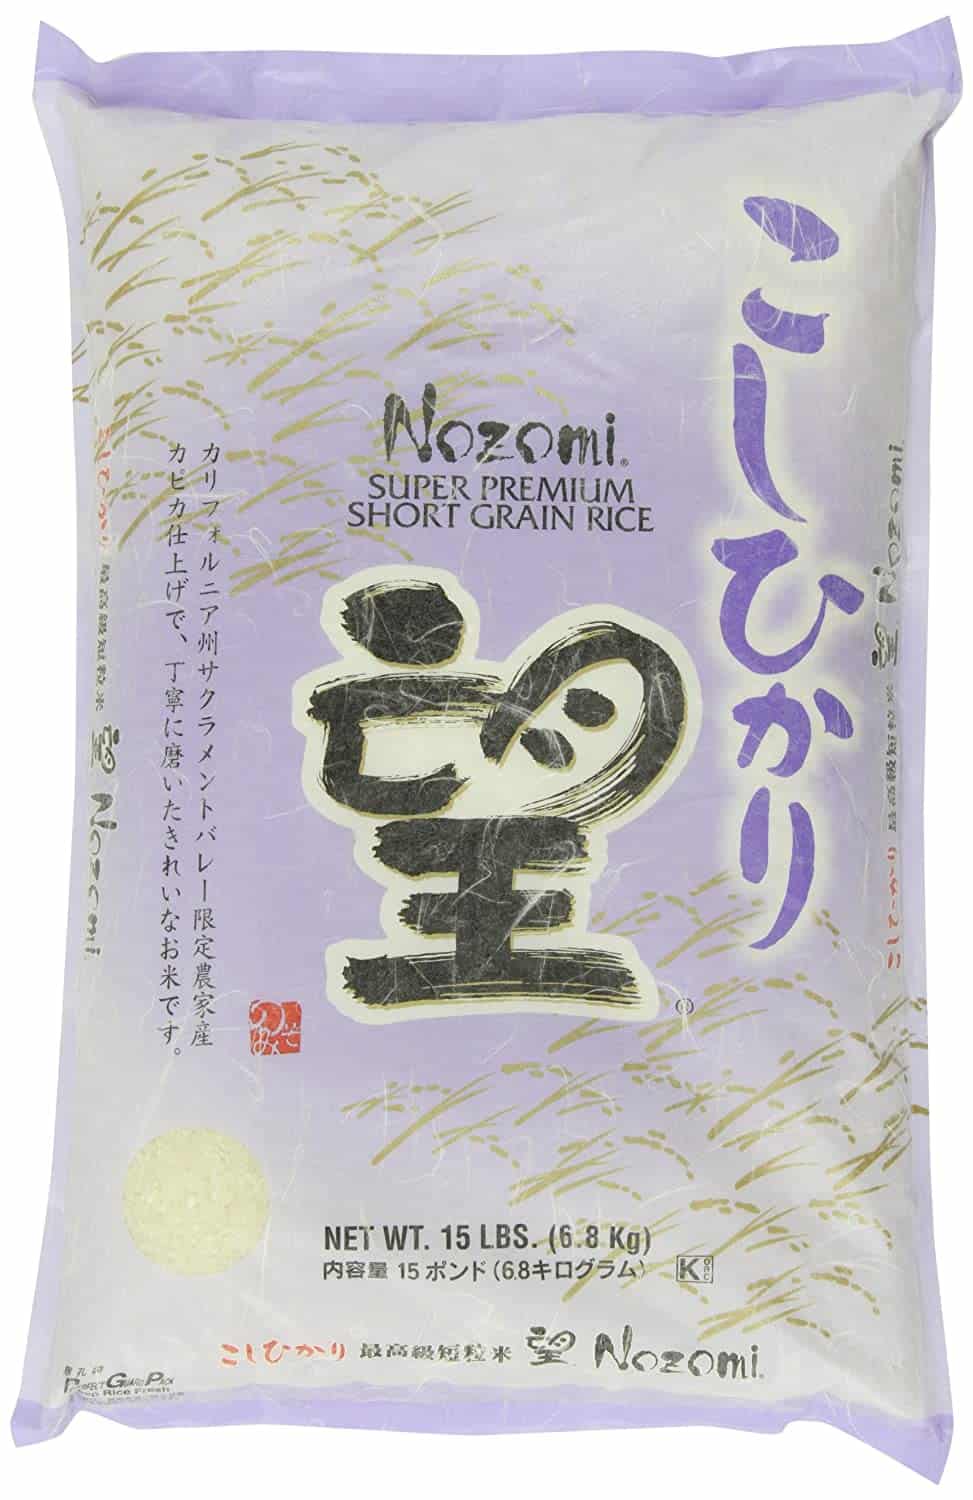
Steamed rice
- 2 cups Japanese short-grain rice uncooked
- 2½ cups water
For making onigiri
- 1 tsp salt (sea salt or kosher; use half if you choose to use table salt)
- 4 sheets nori (seaweed)
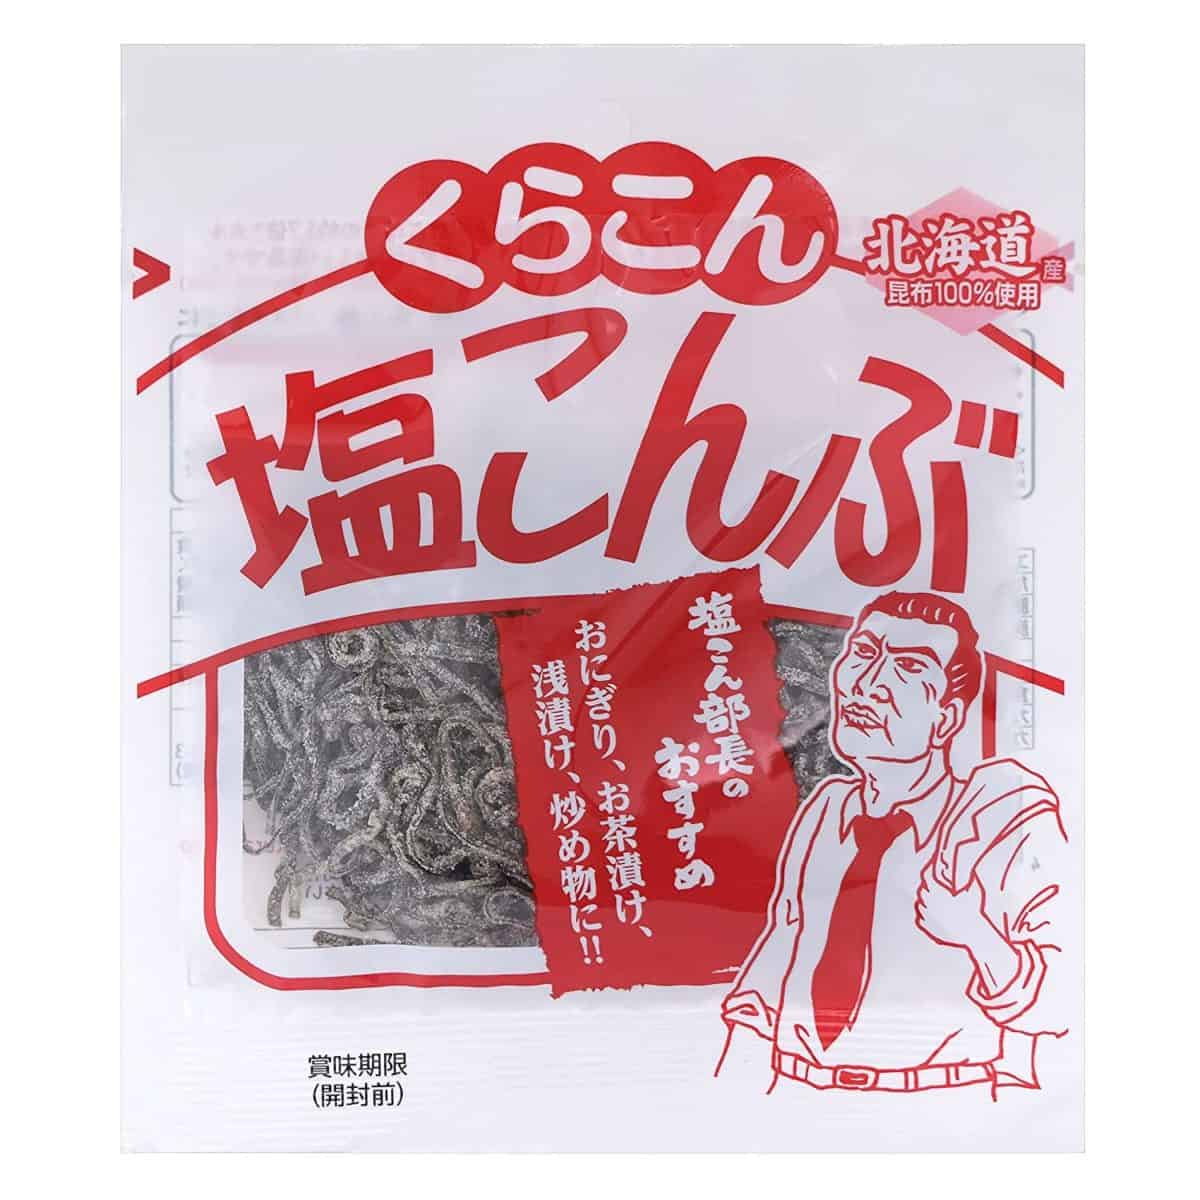
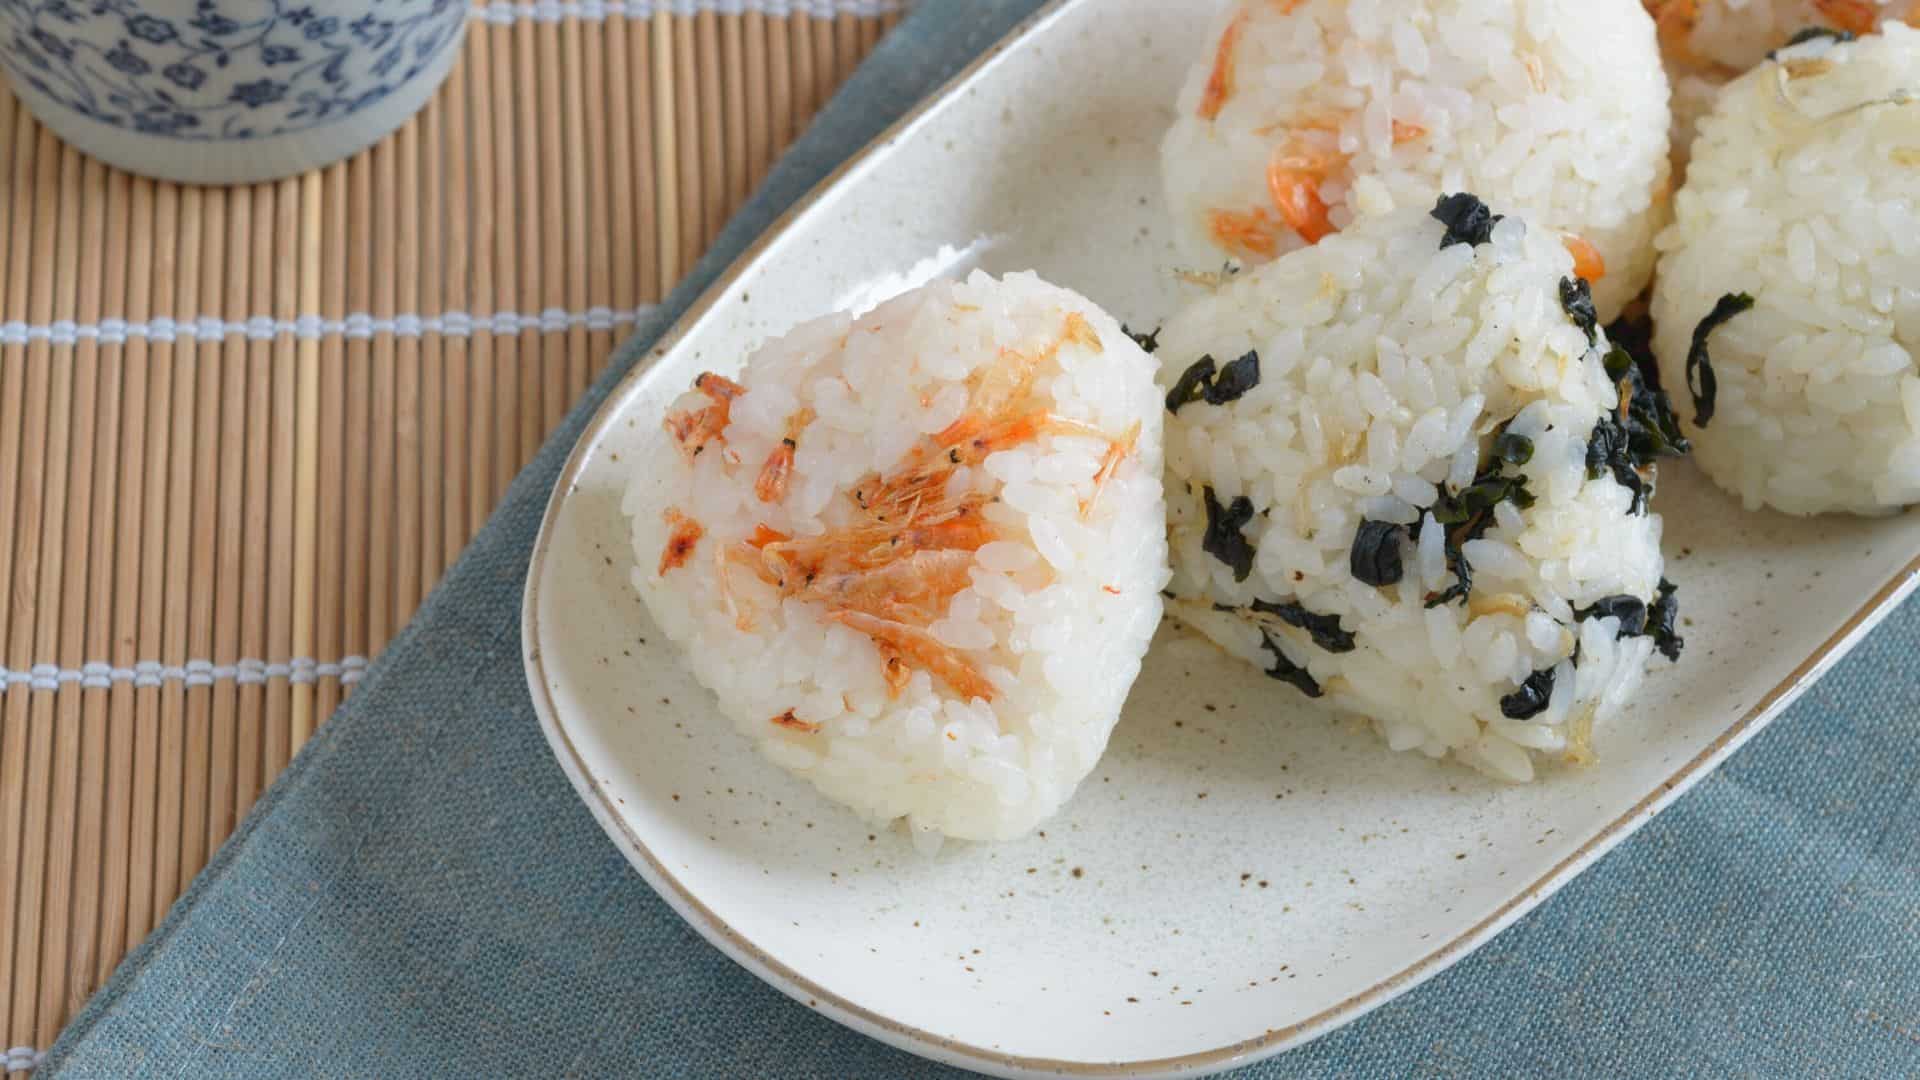
- 4 tbsp seasoned kombu
- 2 tsp toasted black sesame seeds (to garnish)
Instructions
Preparing the steamed rice
- Put your rice in a large rice bowl, gently wash it in a circular motion, and dispose of the water. Repeat this process around 3 – 4 times.
- Allow the rice to soak in water for around 30 minutes. Move the rice into a rice sieve and allow it to drain completely. This should take around 15 minutes.
- Now mix the rice and water in a pot with a heavy bottom, and cover it with a lid. Bring the rice to boil over medium heat.
- Once the water boils, reduce the heat to the lowest setting, and then continue to cook while covered for around 12 – 13 minutes, or until the water is fully absorbed. After 12 minutes, open the pot to see if there's any water present, close the lid, and then continue cooking for an additional minute.
- Remove the pot from the stove with the lid is on, and then allow the rice to sit for an additional 10 minutes. Next, move the rice to a large plate and fluff it with a rice scooper. Allow it to cool for some time, or until you can comfortably hold it in your hands without burning them. However, you shouldn’t allow the rice to cool down completely.
Preparing the onigiri fillings
- As your rice soaks and drains for 45 minutes, start preparing the onigiri fillings.
- For the seasoned kombu filling, put the seasoned kombu in a bow for easier access later. You'll need your hands free for this one so make sure it's easily accessible.
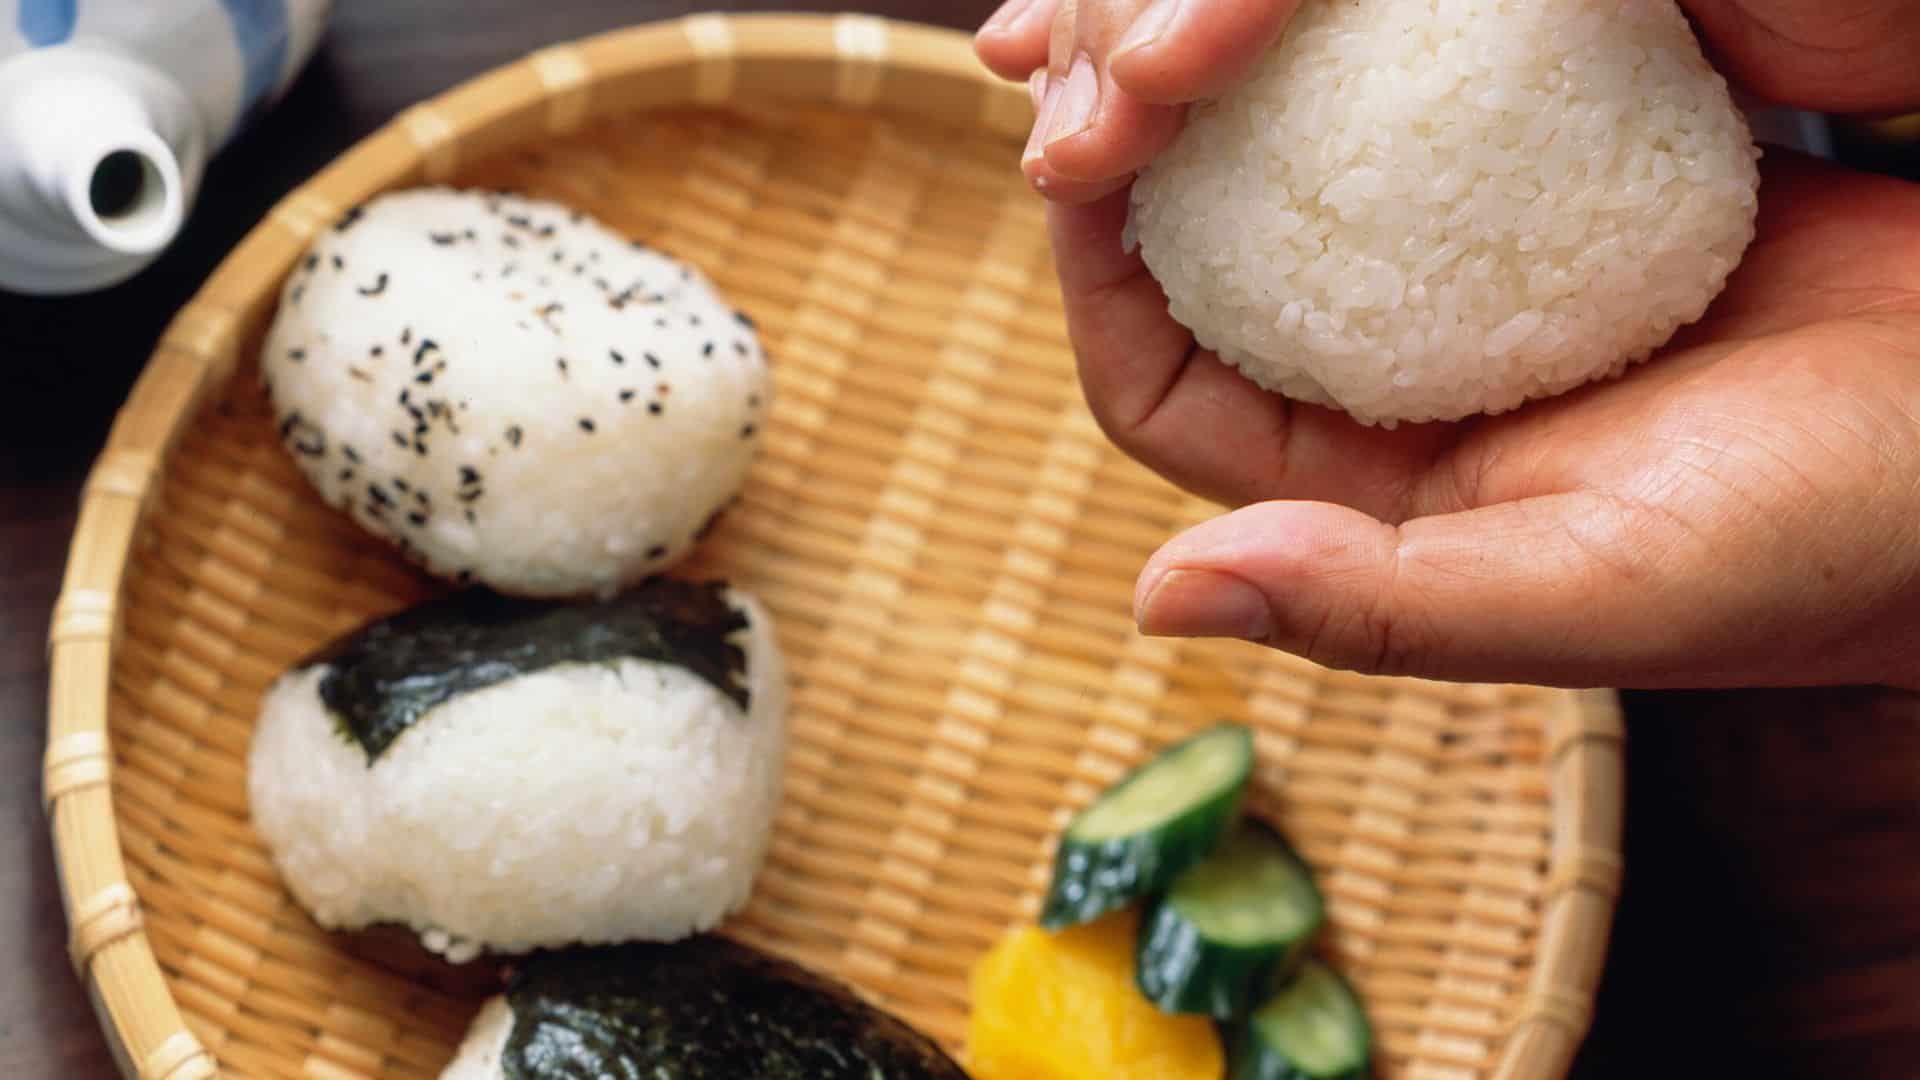
Preparing the onigiri
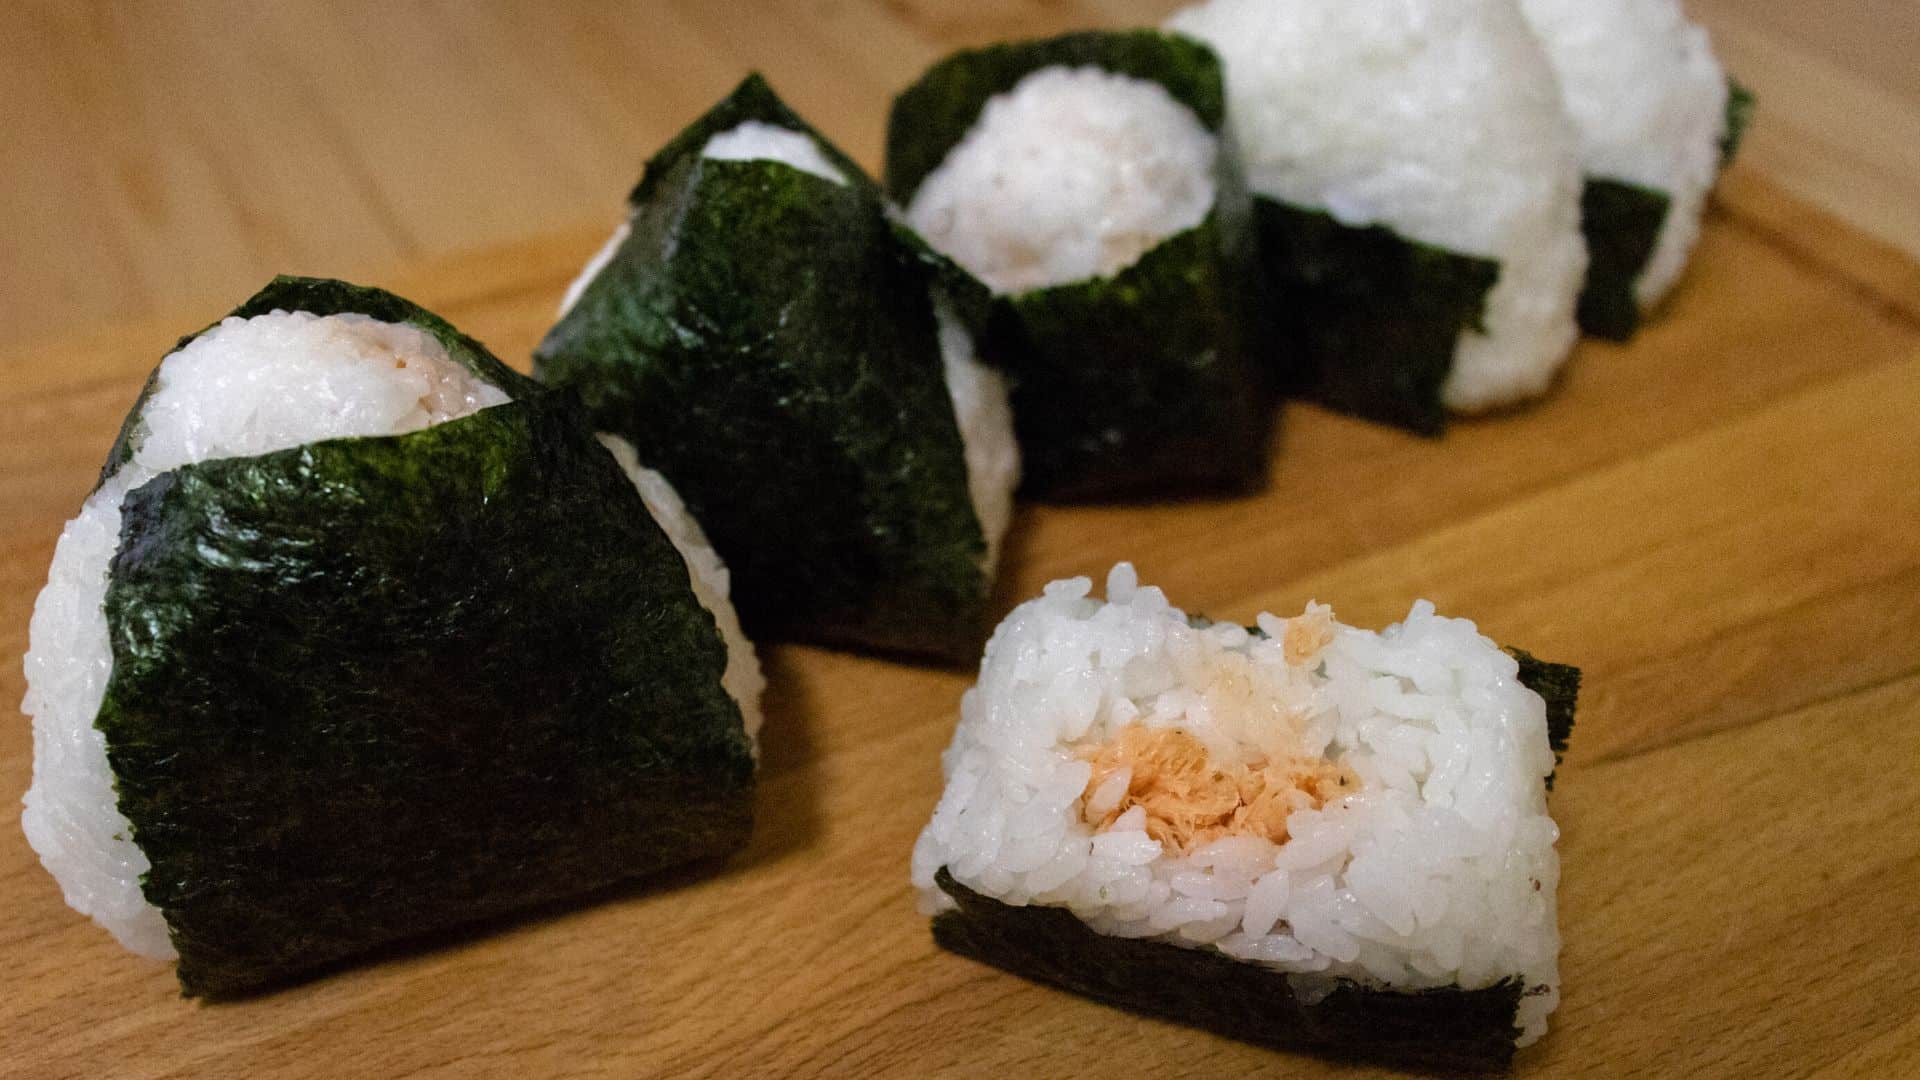
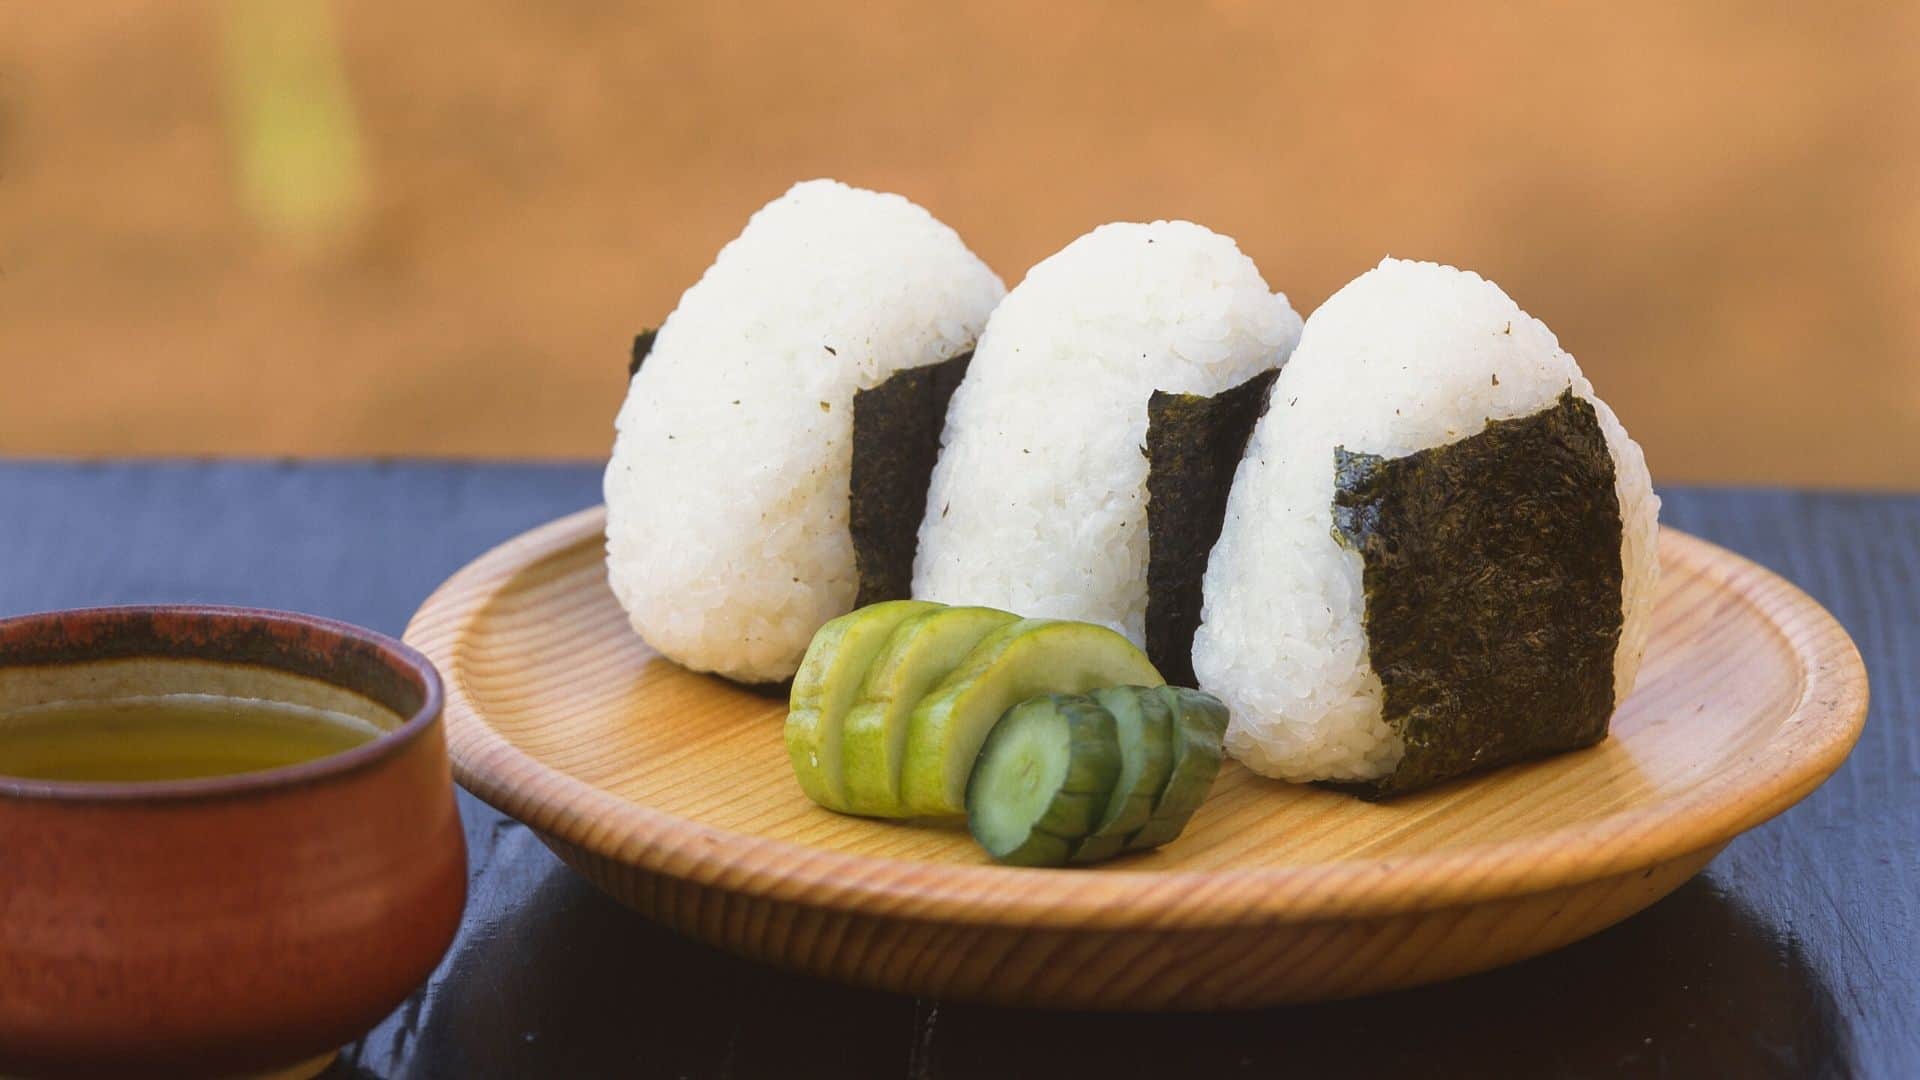
- Cut the nori sheets into thirds.
- Wet your hands with water to prevent the rice from sticking to your hands.
- Put some salt in your hands and then rub to spread around your palms. If you're using table salt, make sure that you use half since it's much salter compared to kosher salt.
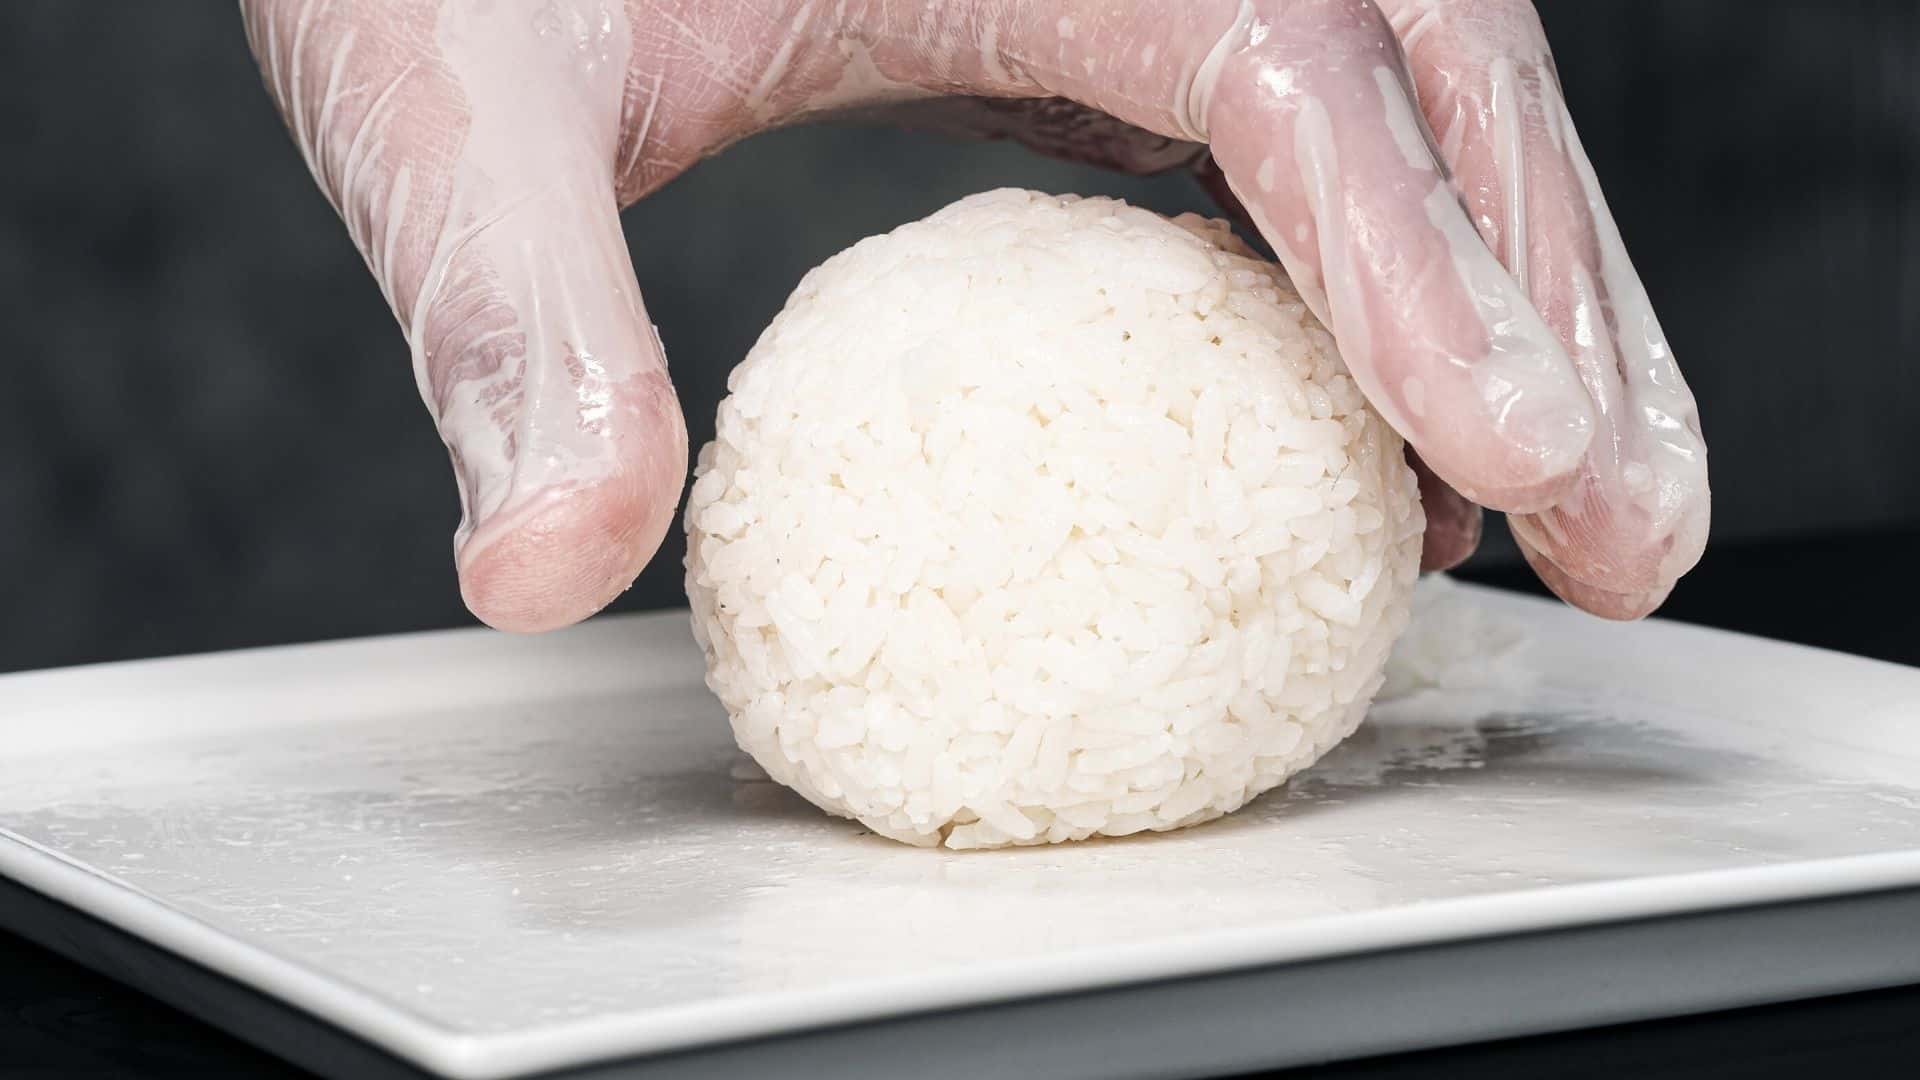
- Now scoop the warm rice (around 1/3rd of a cup) into one hand, and then create a small indentation in the middle of the rice. Put your fillings inside (about 1 to 2 tsp), and then use your hands to mold the rice around the indentation to cover the fillings.
- Press the rice around the area with the filling to create a triangle shape from the rice. You can use 3 fingers (thumb, index, and middle fingers) to create a triangle corner. Ensure that your hands are firm to prevent the onigiri from falling apart. Also, make sure that you don’t squeeze your rice very tightly.
- Use the nori to cover the onigiri.
- Sprinkle some of the sesame seeds on top of each of the rice balls.
Cooking tips
- If you don’t want to touch the rice at all, you can place a piece of plastic wrap in a rice bowl (or any small bowl) and put the rice on top. Sprinkle on some kosher salt (remember, salt is used to preserve the rice for a long time here).
- Pull the plastic wrap corners and twist a few times.
- Form into a triangle shape in the same manner as I described above.
A heavy-bottom pot with a tight-fitting lid is recommended, as it’s thicker at the base. This means it absorbs and distributes heat better.
View the basics of making onigiri here in this video:
Favorite ingredients
Seasoned kombu is salted to keep it fresh, but it’s also roasted (the best is kettle roasted) to make it crispy and edible on its own.
My favorite brand to use is this Konatu Shio Kombu, which has just the right amount of saltiness to pair with the rice perfectly:
Onigiri is easiest to make if you have rice with the right stickiness that’s easy to mold into shapes. That’s why I use this Nozomi short grain rice to make them:
Tips and techniques for making Japanese rice balls
Always make sure to use freshly cooked rice
This is the key step that’ll ensure you get the perfect onigiri results! Before making the rice balls, allow your rice to cool slightly.
However, the rice needs to be warm, but not cold when preparing.
Make your hands wet
Always make sure that you wet your hands with water. This prevents the rice from sticking to your hands.
You should always have a bowl of water on your countertop, as this makes things easier!
Rub some salt on your hands
You should salt both your hands and then rub them to spread the salt evenly. This assists in preserving the onigiri, as well as flavoring the rice balls.
Apply a considerable amount of pressure
Don’t apply too much pressure on your rice. This prevents the rice from falling apart as you shape your rice balls. You can opt to shape them into a typical ball, cylinder, or even triangle-shaped onigiri like these.
Avoid squeezing the rice too tight.
Also read: why not try umeboshi pickled plum as a filling in this ume onigiri recipe
Use a kitchen towel to preserve them if you want to use them the following day
If you’re preparing the rice balls for lunch the next day, but you don’t want to prepare them the day of, you can use the following trick. Wrap the finished products in plastic wrap, and then wrap them using a kitchen towel.
This protects the rice ball from being excessively cold as you keep them in your fridge. It’s important to note that rice gets hard when refrigerated. But this easy trick will ensure that your rice balls stay cool and safe.
Seasoned kombu substitute for onigiri
If you don’t have seasoned or salted shio kombu, you can always use furikake in the same amount. It’s not as crunchy to bite into as the kombu, though, and I would advise to mix the furikake in with the rice instead of using it as a filling.
Recipe variations
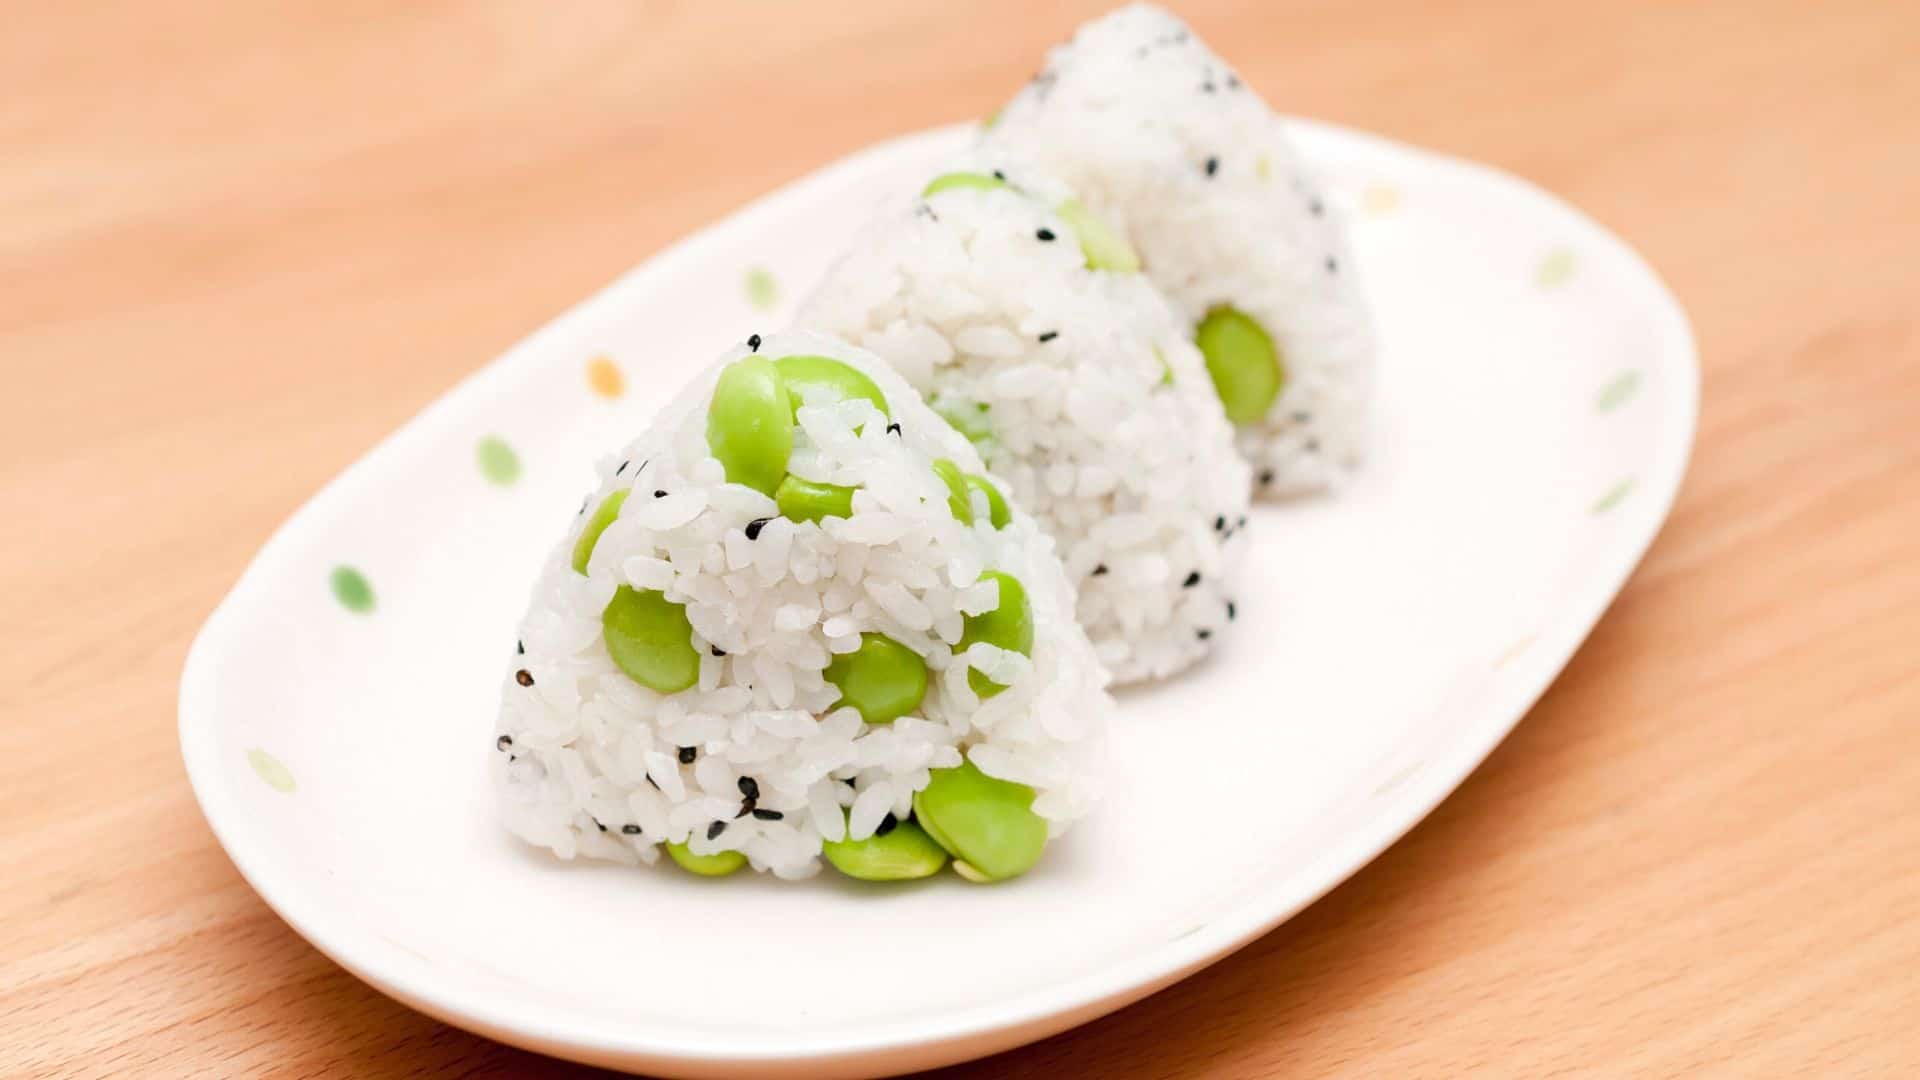
When following this recipe, it’s important to note that the fillings can vary. You should use your favorite ones! You can put almost anything you want in Japanese rice balls.
Try putting pickled plums, grilled salmon, pork, beef, dried bonito flakes (katsuobushi) with soy sauce seasoning, turkey, or tuna with mayonnaise.
Also read: these are the best onigiri flavors and their recipes
Check out our new cookbook
Bitemybun's family recipes with complete meal planner and recipe guide.
Try it out for free with Kindle Unlimited:
Read for free
Joost Nusselder, the founder of Bite My Bun is a content marketer, dad and loves trying out new food with Japanese food at the heart of his passion, and together with his team he's been creating in-depth blog articles since 2016 to help loyal readers with recipes and cooking tips.