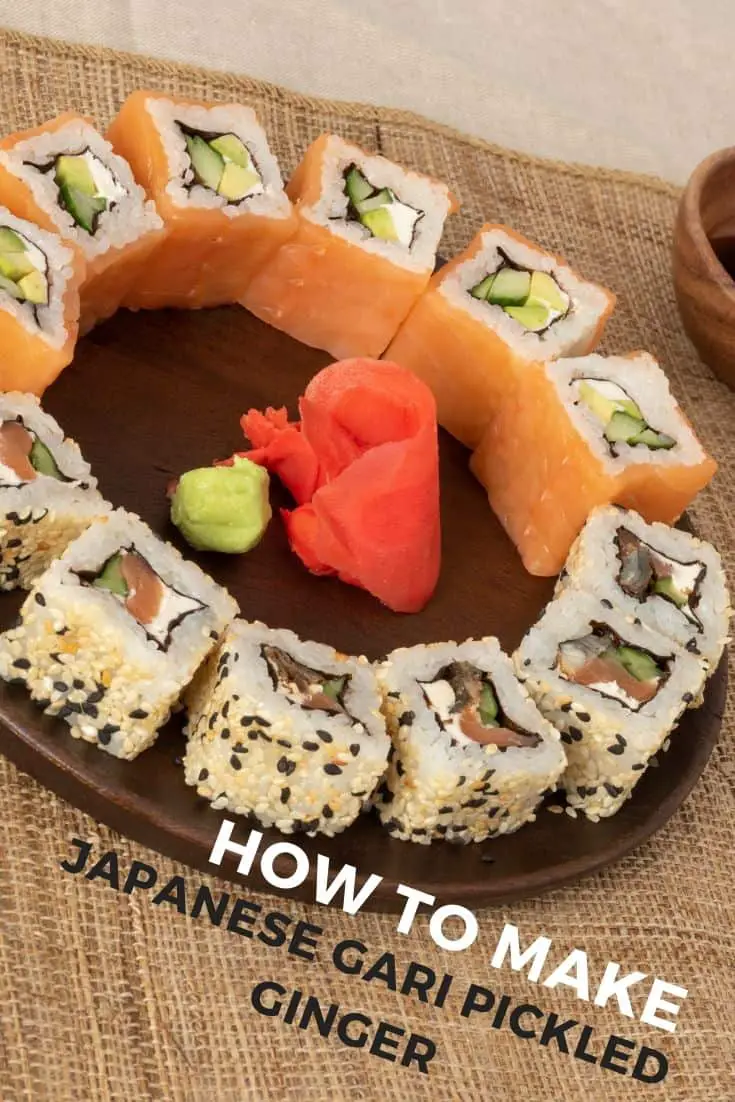
6 quick & easy homemade Japanese gari pickled ginger recipes
Often served with sushi or sashimi as a side dish, pickled ginger (“gari” in the Japanese tongue), is made with the purpose to cleanse your palate so your tastebuds can experience the best flavors in your meal.
People just can’t get over the 4 distinctive flavors pickled ginger gives them: spicy, sweet, briny, and bright.
As a matter of fact, some people even love to eat at a sushi restaurant simply because of how great the gari is!
Imagine that?! And you thought sushi is what people crave the most (although sushi is pretty great as well, and there are all these different types of it)!
The gari that you’ll purchase from restaurants and stores will probably taste great.
However, what you may not know is that it’s actually very easy (as well as inexpensive) to prepare it at home.
Let’s talk about that in this post!
Check out our new cookbook
Bitemybun's family recipes with complete meal planner and recipe guide.
Try it out for free with Kindle Unlimited:
Read for freeIn this post we'll cover:
- 1 Using your pickled ginger
- 2 Best “gari” pink pickled sushi ginger recipes
- 3 Pink gari sushi ginger recipe
- 4 2. Homemade pickled ginger
- 5 3. Pink pickled ginger, just like those served in sushi restaurants
- 6 4. Japanese pickled ginger recipe with kombu
- 7 5. Chinese-style pickled ginger
- 8 6. Sugar-free Sichuan-style pickled ginger
- 9
- 10 Make your own gari pickled ginger at home
Using your pickled ginger
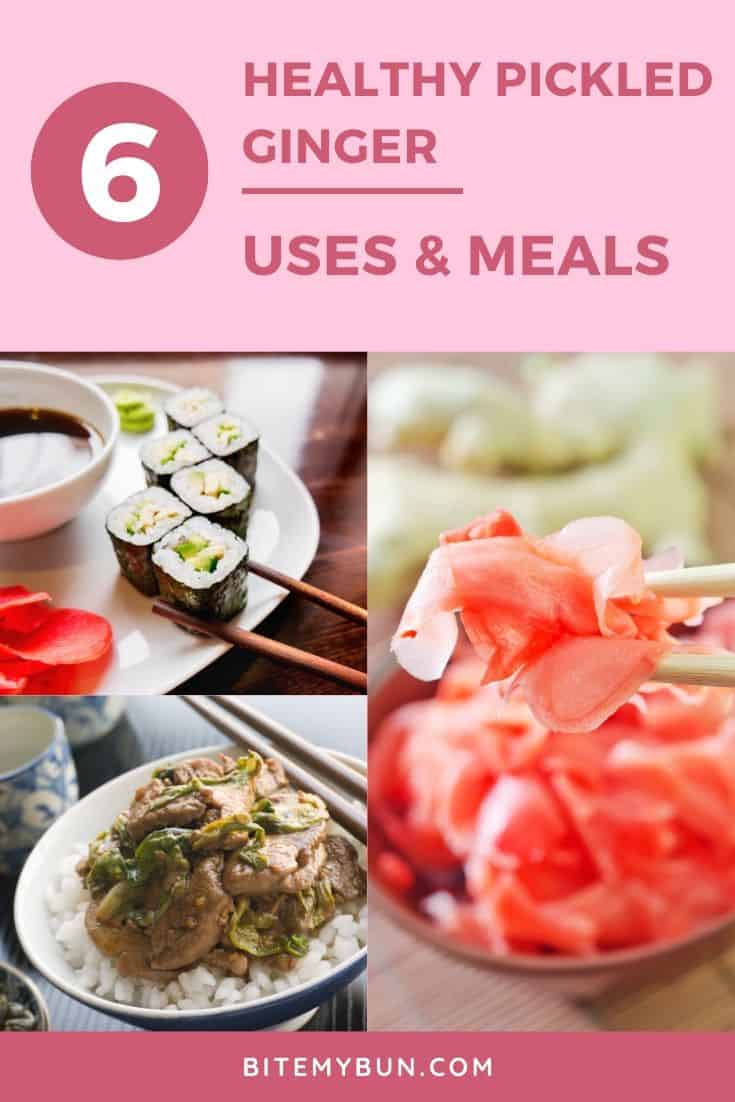
Gari can be used on other dishes besides sushi or sashimi. And because it tastes so good, it instantly complements any sufficiently delicious delicacy!
Here are a few examples:
- You can use it for stir-fry recipes, although you may need to chop it up into tinier pieces, then pour the brine into cold noodles.
- You can also whisk it together with salad dressings.
- Mix it with salted green beans and peanuts.
- It can also be used in lemonade and cocktails to have a better blend.
- Add it to braised meat in order to enhance the taste.
- And, of course, eat it as a side dish with your sushi and sashimi!
Don’t confuse gari with beni shoga: both made with ginger but quite different condiments!
Best “gari” pink pickled sushi ginger recipes
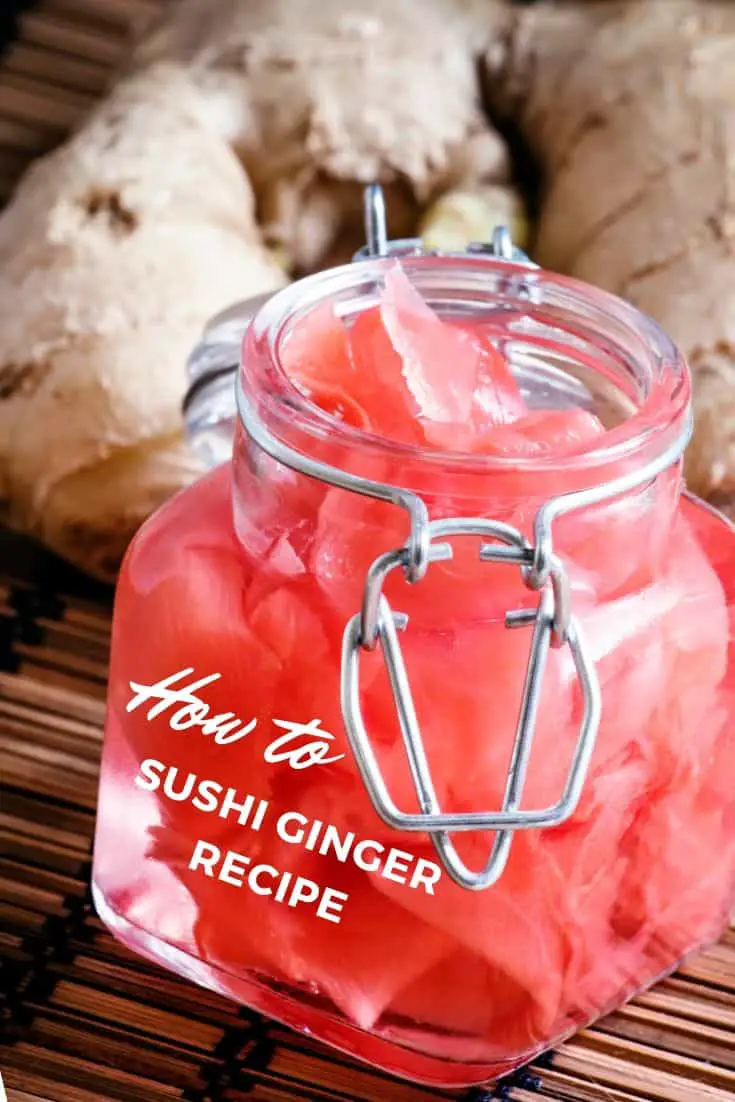
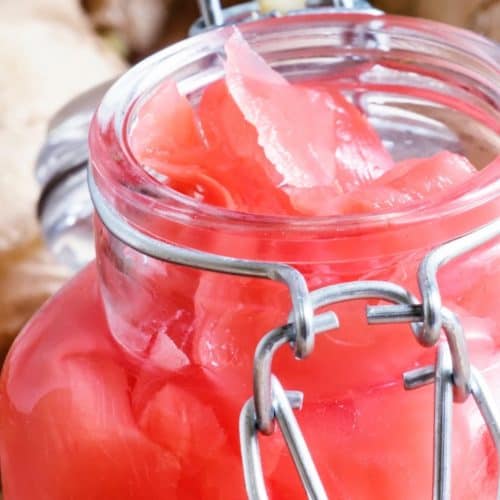
Pink gari sushi ginger recipe
Ingredients
- 3.5-5 oz young ginger root (100-150 g)
- ½ tbsp salt kosher or sea salt; use only half if it's table salt
Japanese sweet vinegar (Amazu)
- ½ cup minus 1 tbsp rice vinegar (100ml)
- 4 tbsp sugar (45 g)
Instructions
- Prepare the ingredients.
- Scrape off the unwanted brown spots with a spoon, then use a peeler to slice the ginger thinly.
- Sprinkle the thinly sliced ginger with 1/2 tsp kosher salt and let it sit for 5 minutes, then toss into a pot of boiling water and allow to cook for 1 to 3 minutes. If you prefer to retain the ginger’s spiciness, then cook it for only 1 minute; otherwise, keep it in the pot for 3 minutes.
- Once cooked, pour the water and ginger into a strainer to drain the water and then spread on a paper towel over a clean dry plate. You can use food plastic gloves to cover your hands as you pick the ginger slices one by one and squeeze them over a Mason jar in order to remove the remaining water.
- Boil 100 ml of rice vinegar, 4 tbsp sugar, and 1/2 tsp kosher salt in a small cooking pot for about 60 seconds and wait until you can smell the vinegar evaporating. After 1 minute, turn off the stove, let the pot cool, then pour the vinegar mix from the pot into the Mason jar where you’ve previously placed the sliced ginger. Allow to cool for a few minutes and then close it with the lid and place in the refrigerator.
- After several hours, you should be able to see the ginger slices turn slightly pink in color. It'll show more of a pink color after a few days. Use the pink pickled ginger as needed. The way the pickled ginger is preserved is so good that it can last up to a year before spoiling, as long as it's kept in an airtight container and is refrigerated.
Video
2. Homemade pickled ginger
Ingredients
- 8 oz fresh young ginger root, peeled
- 1 1/2 tsp sea salt
- 1 cup rice vinegar
- 1/3 cup white sugar
Directions
- Chop the ginger into tiny chunks and put them in a small mixing bowl. Drizzle with sea salt, mix thoroughly in order to coat the ginger with salt, and then let it sit for about half an hour. Transfer the salted ginger into a sterilized Mason jar.
- Preheat a saucepan over the stove, then pour the rice vinegar and sugar in, and mix until the mix becomes a syrup. Bring to boil, then carry the saucepan over the jar and pour the hot liquid mixture onto the ginger root pieces.
- Let the pickle cool for a while, then close the lid and refrigerate it for a week or so before using it on your sushi or sashimi. After a few minutes after the hot liquid comes into contact with the ginger, you should be able to notice how it’ll change from colorless to a slightly pinkish color. However, there’s no need to be concerned, as this is a normal chemical reaction between the rice vinegar and the ginger (this chemical reaction can only come about if you use genuine rice vinegar). Some pickled ginger products like those that are commercially viable (not made by sushi chefs in sushi restaurants) use red coloring to get that pinkish hue. Slice the ginger into paper-thin slices when you serve them to your guests.
Wash your hands clean or use food plastic gloves to squeeze the ginger slices off of the liquid it’s absorbed and put them in a Mason jar.
Place the lid over the jar to cover it and refrigerate. The pickle should last for up to 1 year and you can use it in various recipes aside from sushi and sashimi.
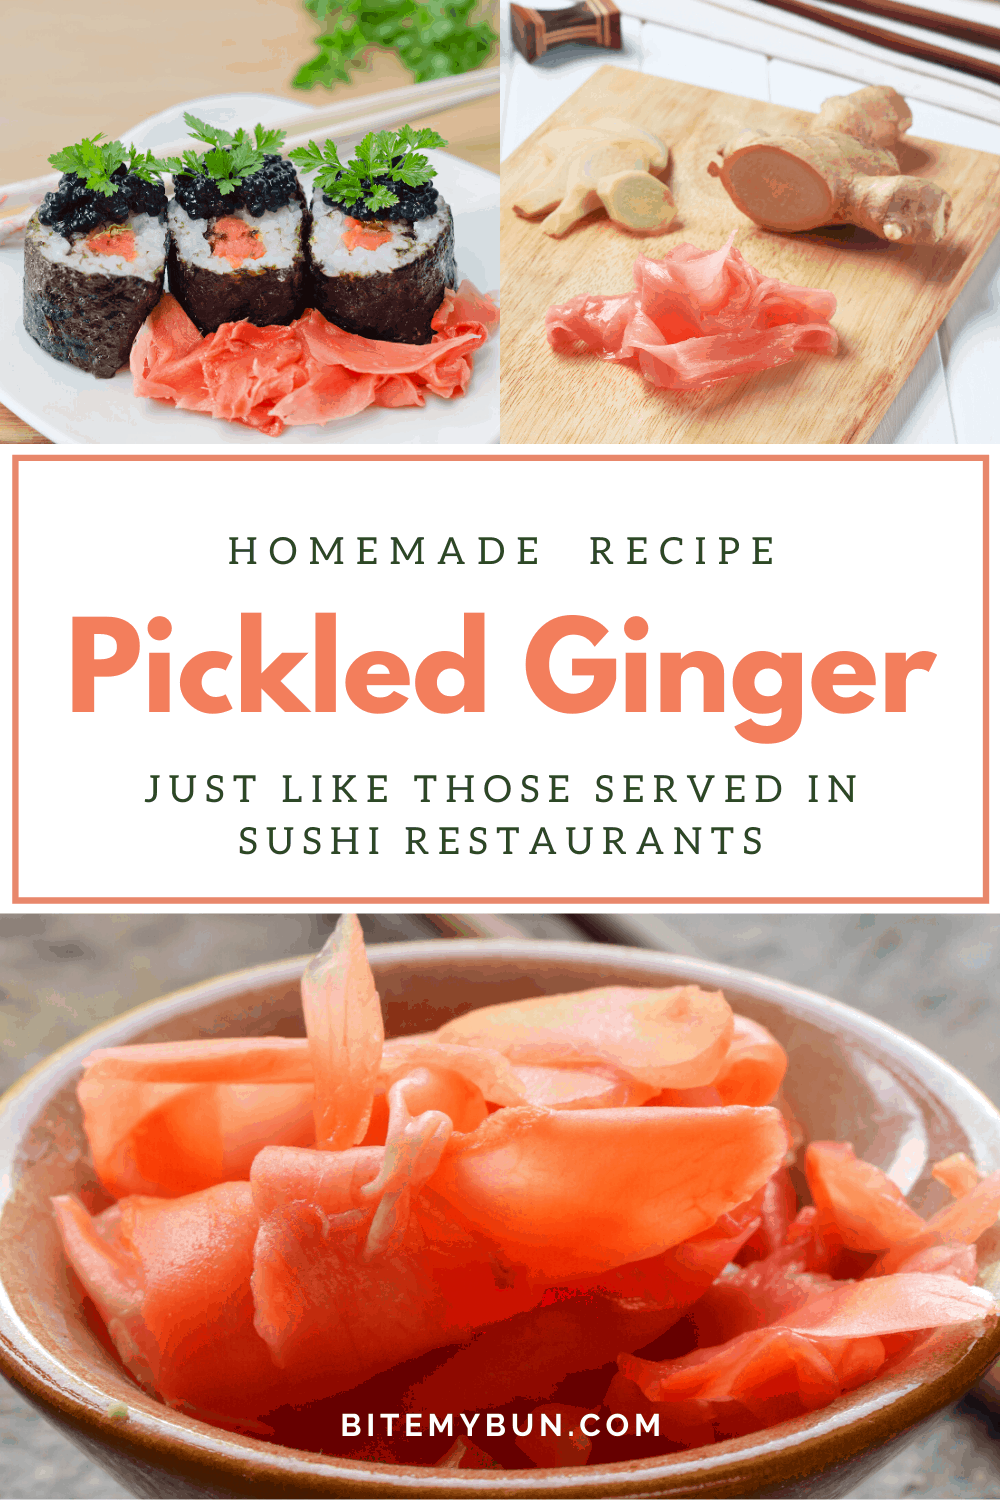
3. Pink pickled ginger, just like those served in sushi restaurants
Ingredients
- 150 g new ginger rhizomes
- 1/4 tsp salt
- 1/2 cup rice vinegar
- 3 tbsp sugar
- 1/2 tsp kelp dashi powder
Instructions
- Open the faucet and rinse the ginger rhizomes by scrubbing them and removing the brown spots.
- Cut out the stems but leave the red part at the bottom attached to the rhizomes, as this is needed to create the pink color of the pickle.
- Use a deba or santoku knife to slice the rhizomes as thinly as you possibly can.
- Boil water in a pot and parboil the sliced ginger.
- Pour out the parboiled water and filter the ginger rhizomes through a sieve, then lay the sliced ginger on a cooling tray over a paper towel in a single file and allow them to dry.
- Preheat a small saucepan on the stove over medium heat and place the vinegar, sugar, salt, and kelp dashi powder into it and simmer.
- Once the dashi powder and sugar dissolve, turn off the stove.
- Make sure to wear plastic food gloves or wash your hands clean before you squeeze the excess water off of the sliced and parboiled ginger.
- This time, place the sliced ginger into a clean food container or a glass jar and get the vinegar mix in the saucepan and pour it over the ginger rhizomes while it’s still hot. When the liquid mix comes into contact with the ginger rhizomes, you’ll see how it’ll change from white to pink almost instantaneously.
- Allow it to cool for a few minutes, then refrigerate. You can use it in any recipe where it’s needed after 3 hours in the fridge.
4. Japanese pickled ginger recipe with kombu
Ingredients
- 9 to 10 oz young ginger
- 1/3 cup plus 1 1/2 tbsp sugar (organic preferred for great flavor)
- 2 tsp fine sea salt, or 1 1/2 tbsp kosher salt
- 2/3 cup unseasoned Japanese rice vinegar
- 2 squares of dried kombu (kelp), each about the size of your thumbnail (optional)
Instructions
- Turn the spoon around so that you’ll scrape off the ginger’s skin using the inverted side of the spoon. You can use either a mandoline or one of those very sharp Japanese knives. To get the perfect slices, you must cut against the grain and try to cut it as thinly as possible to almost see-through pieces.
- Transfer the ginger slices to a non-stick pan or a small mixing bowl. Add in 1 1/2 tbsp of sugar and salt. Let it sit for 30 minutes so that the chemical reaction between the salt, sugar, and ginger will take off the edge.
- Place a kettle of water on the stove and bring it to a boil; do it at approximately 10 minutes before the ginger loses its spiciness. Once the ginger’s harshness wears off after 30 minutes, you may go ahead and pour the hot water over it. Make sure that you fill the bowl up to 2/3 of the hot water near the brim. Stir the mix gently but thoroughly, then leave it for 20 seconds more to further reduce its edge. Drain the water from the ginger mix (do NOT rinse) and use plastic food gloves to squeeze the water further from the ginger slices. Then transfer into a Mason jar.
- Rinse and clean the saucepan that you used earlier and preheat it once more in order to mix the sugar, vinegar, and kelp, and bring to a boil. Stir a few times until the sugar is dissolved. Turn off the stove and transfer the vinegar mix into the jar where you’ve previously placed the ginger.
- Use a spoon or chopsticks to push down the ginger slices and submerge them in order to efficiently pickle them. Don’t cover it yet so it can cool. Once it reaches room temperature, then put the lid on and refrigerate. Depending on the ginger, it may be ready to eat in 1 to 3 days. The pickled ginger should last for about 6 months to a year.
5. Chinese-style pickled ginger
Ingredients
- 250 g fresh ginger, thinly sliced
- 100 g rock sugar
- 250 ml white rice vinegar
- 1 tsp salt
Instructions
- Rinse the sliced ginger in cold running water and scrape off the dirty spots on its skin.
- Preheat a pot of water and bring to boil, then blanch the ginger slices in it for about 10 seconds. Drain the ginger slices in a sieve and dry them using a paper towel. Then transfer the ginger slices into a Mason jar.
- Preheat a small pot over medium heat and dissolve the rice vinegar and sugar. Add salt after 1 – 2 minutes and then turn off the stove and allow it to cool down for several minutes. Pour the vinegar mix into the Mason jar where the ginger slices are and make sure that they’re all soaked well.
- Refrigerate the pickled ginger and wait at least 2 days before consuming it. It should last for about 6 months in the refrigerator before spoiling.
6. Sugar-free Sichuan-style pickled ginger
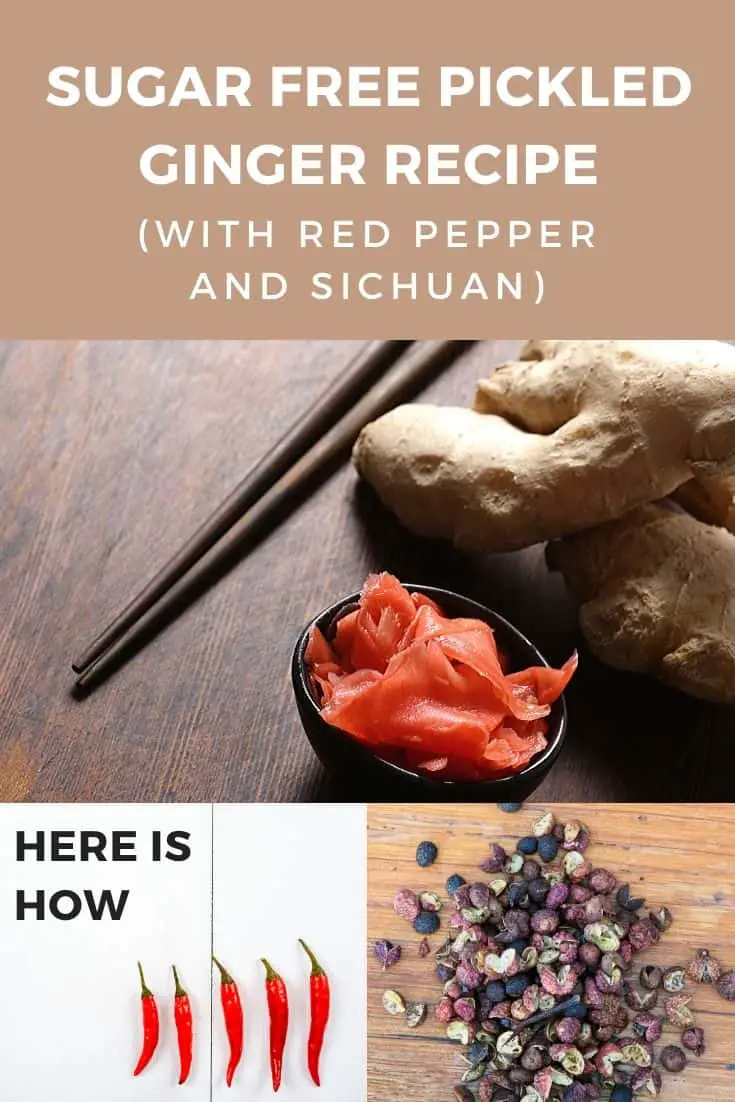
A lot of you also ask: How do you make pickled ginger without rice vinegar or sugar?
This Sichuan-style pickled ginger is the answer!
Ingredients
- 500 g fresh ginger
- 6 fresh red peppers
- 800 ml cold boiled water
- 2 tbsp salt
- 1 tsp whole Sichuan peppercorn
Instructions
- Clean and rinse the ginger in the faucet, remove the dark spots, peel off its skin using a spoon, and then thinly slice it at about 1/16th inch thick.
- Place the ginger in a pot of boiling water for 1 – 2 minutes in order to reduce its pungent taste. Drain the ginger slices in a strainer and place them in a jar or clean food container. Add the Sichuan peppercorn seeds and red pepper together with the ginger slices.
- Prepare purified water and dissolve salt in it. Pour the saltwater into the jar where you’ve placed the ginger in, close the lid, and refrigerate.
Make your own gari pickled ginger at home
While you can always have gari pickled ginger at restaurants, you can also easily make it at home on your own. That way, you can spice up some dishes or just have some pickled ginger to munch on whenever you feel like it!
Check out our new cookbook
Bitemybun's family recipes with complete meal planner and recipe guide.
Try it out for free with Kindle Unlimited:
Read for free
Joost Nusselder, the founder of Bite My Bun is a content marketer, dad and loves trying out new food with Japanese food at the heart of his passion, and together with his team he's been creating in-depth blog articles since 2016 to help loyal readers with recipes and cooking tips.