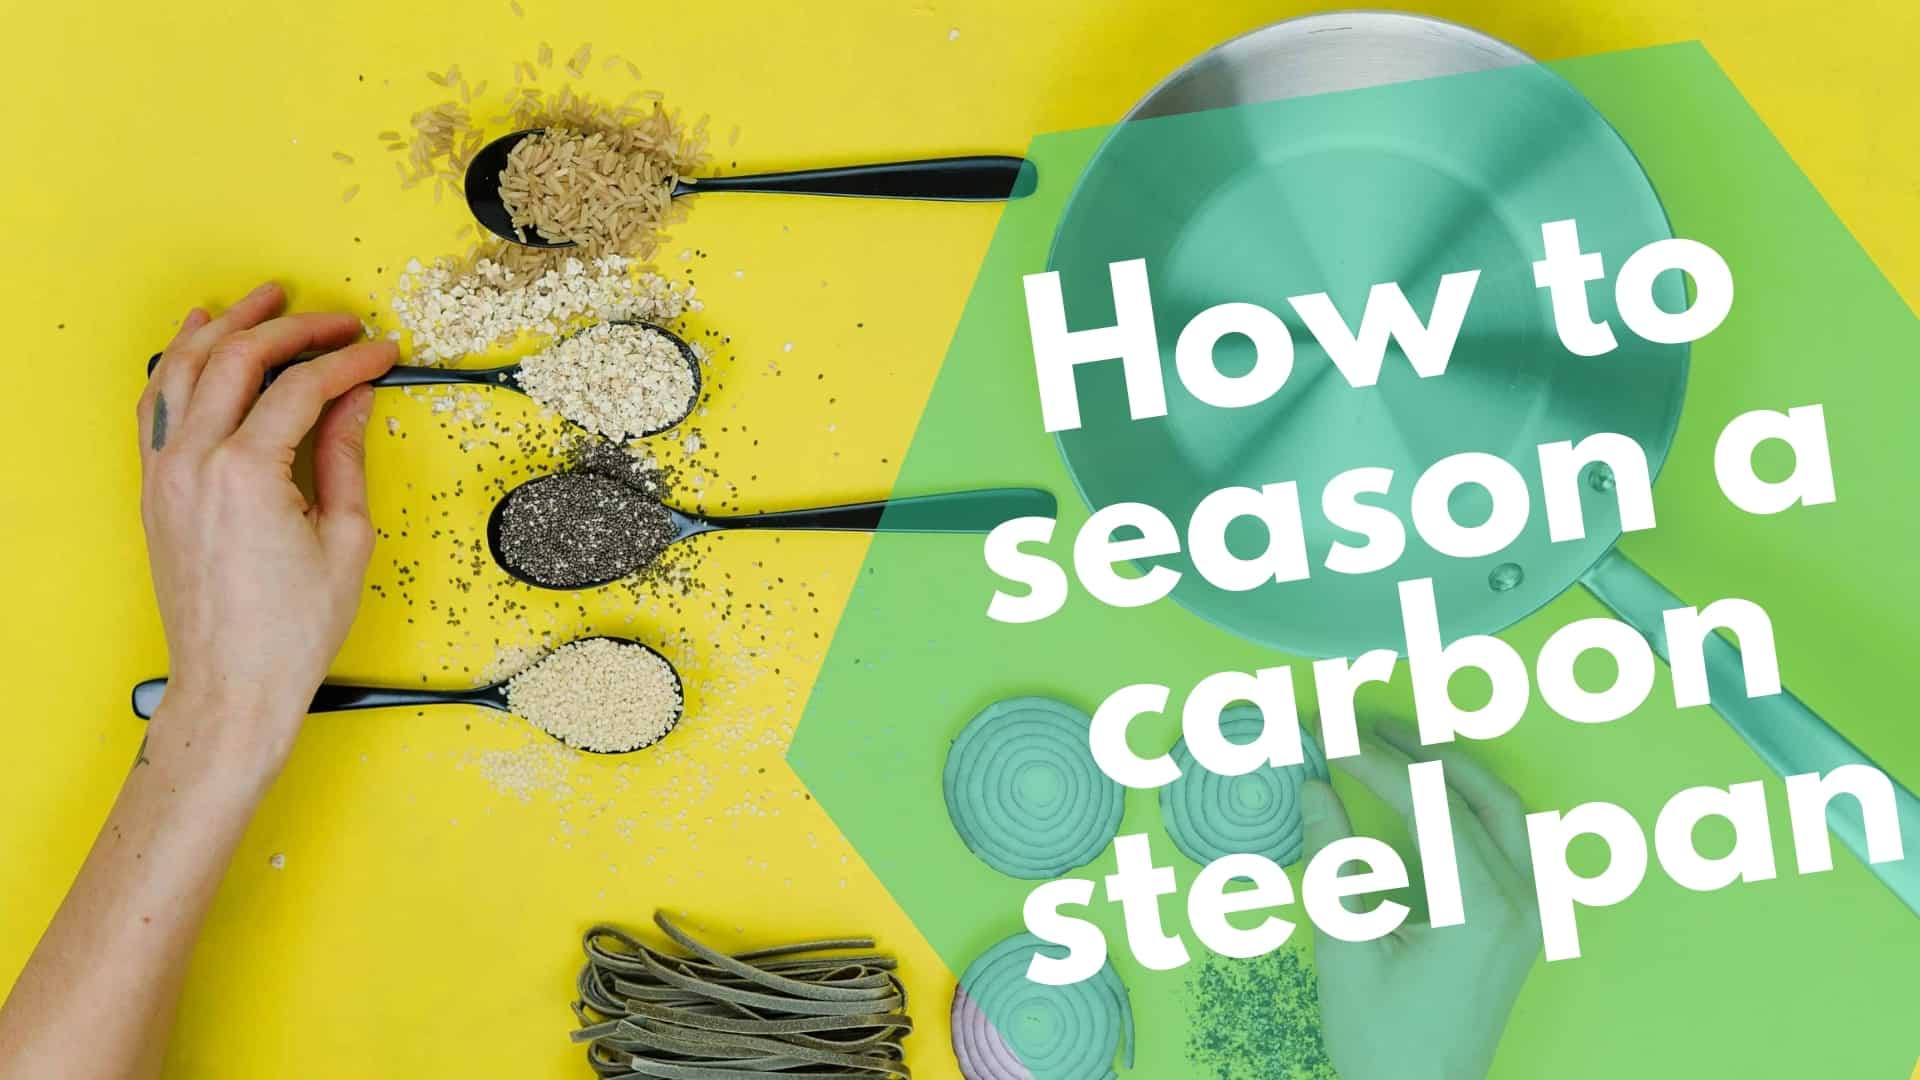
How to Season A Carbon Steel Pan | 7 easy steps to get the best results
We may earn a commission on qualified purchases made through one of our links. Learn more
So, you’ve bought a carbon steel pan. But, if the pan isn’t seasoned properly, you will realize that it is not a good as your old cast iron pan.
Once you season the carbon steel pan, it becomes a must-have piece of cookware in your kitchen.
It’s important to note that carbon steel is not a good conductor or retainer of heat, just like cast iron.
 This makes carbon steel the perfect choice for people who love pan-roasting meats. Note that carbon steel pans reach cooking temperature very quickly, which is great for quick meals.
However, since carbon steel pans are spun or stamped from metal sheets, rather than cast from iron, they have slanted sides, and they are also lighter and thinner, compared to cast iron.
These two features make carbon steel pans the ideal choice for tossing foods, which means they are best suited for sautéing vegetables and meats.
Another notable thing in carbon steel pans is that it’s seasoned, unlike cast iron. However, it is not important to understand that the ‘seasoning’ doesn’t mean the flavor that builds up with time as you use your pan.
Rather, the seasoning is the buildup of a very thin layer of oil, which transforms from liquid grease into a strong polymer, resembling plastic. This process happens when you heat the pan.
Also, check out this video from Cook Culture on how to season your carbon steel pan and why he switched from teflon to carbon steel (good explanation video):
This makes carbon steel the perfect choice for people who love pan-roasting meats. Note that carbon steel pans reach cooking temperature very quickly, which is great for quick meals.
However, since carbon steel pans are spun or stamped from metal sheets, rather than cast from iron, they have slanted sides, and they are also lighter and thinner, compared to cast iron.
These two features make carbon steel pans the ideal choice for tossing foods, which means they are best suited for sautéing vegetables and meats.
Another notable thing in carbon steel pans is that it’s seasoned, unlike cast iron. However, it is not important to understand that the ‘seasoning’ doesn’t mean the flavor that builds up with time as you use your pan.
Rather, the seasoning is the buildup of a very thin layer of oil, which transforms from liquid grease into a strong polymer, resembling plastic. This process happens when you heat the pan.
Also, check out this video from Cook Culture on how to season your carbon steel pan and why he switched from teflon to carbon steel (good explanation video):
Check out our new cookbook
Bitemybun's family recipes with complete meal planner and recipe guide.
Try it out for free with Kindle Unlimited:
Read for freeIn this post we'll cover:
- 1 Why do you need to season your carbon steel pan?
- 2 How do you season a carbon steel pan?
- 2.1 Step 1: Remove the pan’s protective coating, and then wash it
- 2.2 Step 2: dry your pan
- 2.3 Step 3: heat your pan
- 2.4 Step 4: Apply a thin layer of oil
- 2.5 Step 5: burn your pan
- 2.6 Step 6: Repeat the process
- 2.7 Step 7: you can now use your pan until it requires re-seasoning
- 2.8 How do you know when to re-season a carbon steel pan?
- 2.9 How do you re-season a carbon steel pan?
- 2.10 How many times can you season a carbon steel pan?
- 2.11 How to season a carbon steel wok
- 3 Bottom Line
Why do you need to season your carbon steel pan?
There are various reasons why you need to season your carbon steel pan, and these reasons apply when seasoning cast iron. Some of these reasons include:- Bare carbons steel is susceptible to rusting when exposed to humidity and moisture. However, seasoning the pan acts as a protective barrier, which prevents the pan from rusting, especially if you live in an area with high humidity levels.
- Seasoning also improves the performance of the carbon steel pan, as it allows it to have a non-stick surface, which you can only find in modern Teflon coatings.
- When you season your pan properly, it becomes a great option for cooking eggs, crepes, blini, pancakes, and other amazing meals. You should understand that traditional crepe and omelet pans are made from a carbon steel material.
- A well-seasoned carbon steel pan imparts more flavor onto food. It also doesn’t stick, corrode, or rust easily.
How do you season a carbon steel pan?
Step 1: Remove the pan’s protective coating, and then wash it
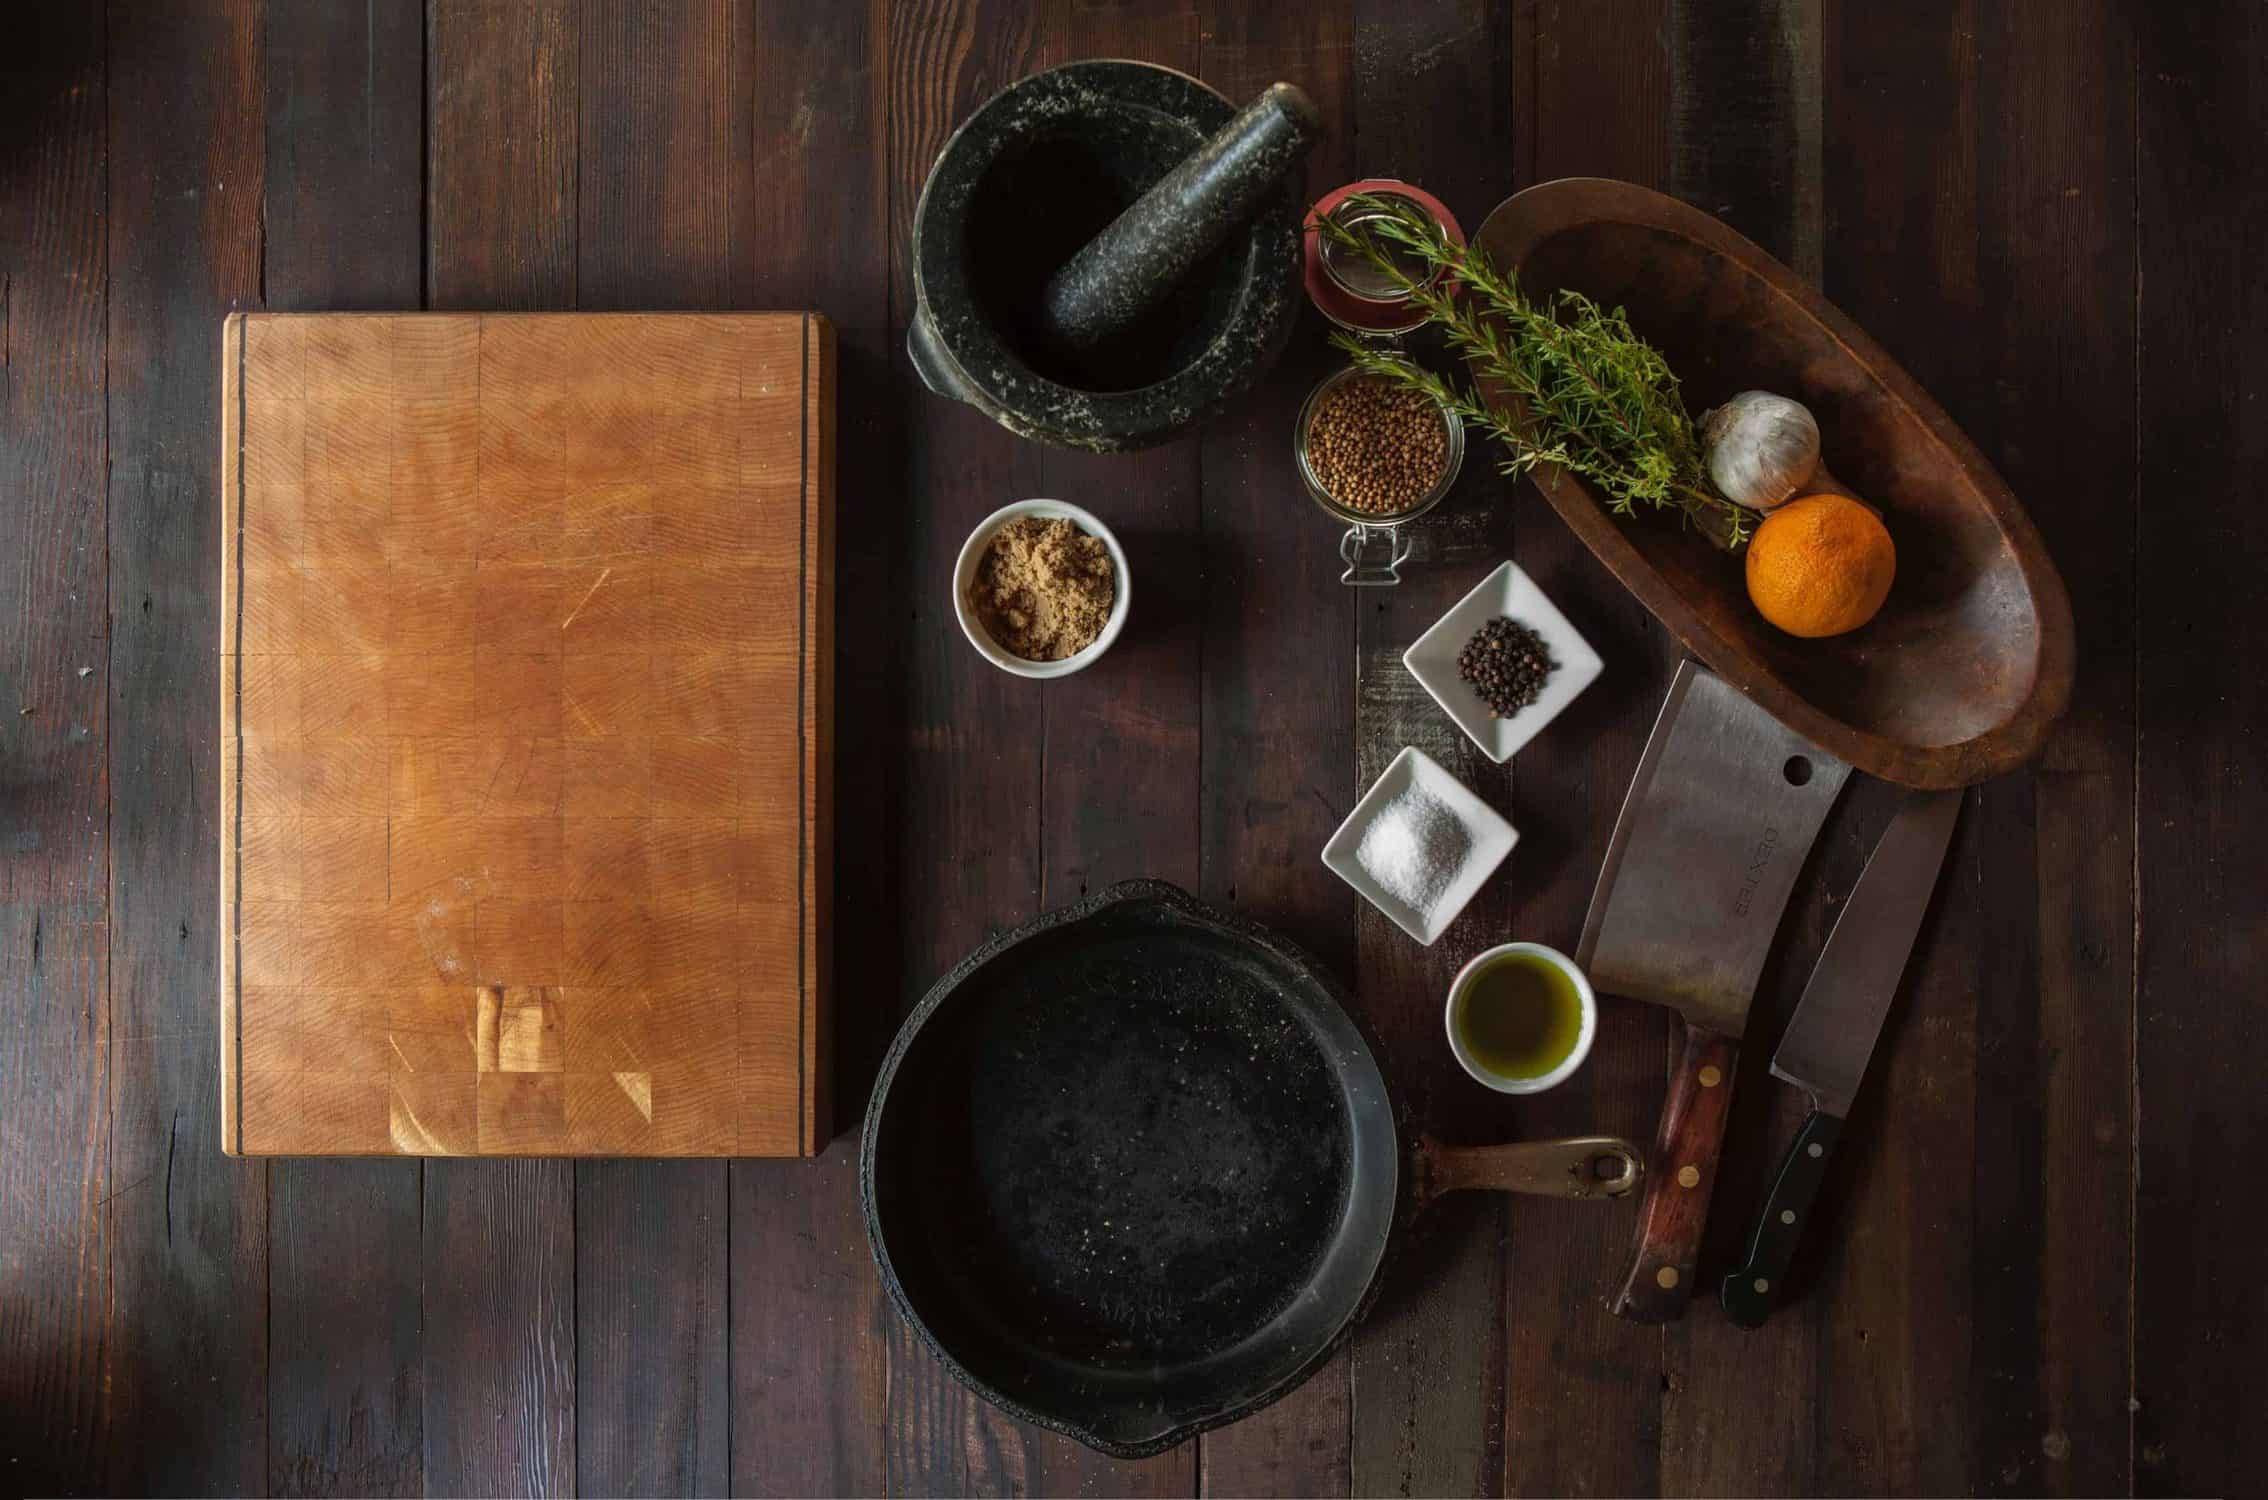
If you have ever owned a carbon steel pan, then you would have noticed that it wasn’t seasoned when you bought it. Most of these pans come with a protective coating, which protects the bare metal from rusting. But how do you know that your pan is not seasoned? This is very easy—an unseasoned pan has a metallic-grey color, not a black color like most of the cast iron pans that you can get off-the-shelf. The first step that you should do is to remove the pan’s coating. It’s important to understand that different manufacturers will use different coatings.How to remove the pan’s coating
When you buy a carbon steel pan, you will realize that it comes with an anti-rust coating, which you must remove before you season it using oil. There are two methods that you can use to remove the coating.- Method 1: you can use boiling water with soap in order to soften the coating. Then scrub the pan using a brush or a scrubber in order to remove the coating. Lastly, wash the pan, and then rinse it with hot water.
- Method 2: put your pan in an oven and let it sit for around an hour. Set the temperature to 200 degrees Fahrenheit, then rinse the pan with boiling water. Use paper towels to wipe the pan after rinsing it. However, you should make sure that the handle is oven safe since most of these pans come with a plastic handle. Lastly, make sure that you use gloves when handling the pan to avoid injuring
- yourself.
Read more: review on the best copper skillets you could buy
Step 2: dry your pan
When you finish removing the pan’s protective coating and washed it, make sure that you dry it immediately. Since the coating that was protecting the pan from rusting has been removed, the pan can easily rust, especially when bare and wet. You can use a towel to dry your pan, and then put it on top of a burner to remove any moisture that might be on the pan.Step 3: heat your pan
Once you have dried your pan, it’s time now you started heating it. But, you need to start by applying the first coating of seasoning, as this helps in heating the pan quickly. This step is important as it helps the oil to become as thin as possible. Most people usually heat their pan over a stove burner, but you can also heat your pan in an oven at 450 degrees Fahrenheit. However, you should only heat your pan in an oven if it has an oven-safe handle. It’s important to note that some handles cannot withstand high heat on ovens. Therefore, you need to read the user manual that comes with the pan.Step 4: Apply a thin layer of oil
Seasoning the pan with coconut oil
More recently, there’s a new trend and it involves seasoning your carbon steel pan with coconut oil. It’s a great idea because coconut oil is fairly inexpensive when you purchase it in large quantities. Make sure to use coconut oil in liquid form. This way, it moves around the pan with the salt easily. If you use coconut oil in butter form it won’t work. Coconut oil bonds well to the surface of the pan and it helps the pan last longer.Rub the oil over the pan to season it
Now, you need to rub the oil all over the pan—both on the inside and outside, and make sure that you wipe any excess oil until your pan has a dry appearance. Please, note that you shouldn’t apply excess oil since it can mess up the seasoning process. It can leave you with a sticky and splotchy seasoning, which will be challenging to fix. If you feel like you have applied excess oil, then you have—that feeling is usually the right one. Wipe it out until it’s dry, and until your pan doesn’t have any trace of oil. You shouldn’t worry about this since your pan will still have oil on it, which will be the right amount for seasoning.Step 5: burn your pan
Now, allow your oiled pan to heat, and this can be on a burner when the temperature setting is on its high, or in an oven. Using a burner is recommendable since carbon steel is not a good conductor of heat. You might be required to move your pan around to make sure that the oil forms a polymer all over the pan.How can you tell that your pan is seasoned?
You will definitely notice it whenever you season a new carbon steel pan. The parts where the oil has set into a layer will turn into a light shade of brown—that will be your seasoning. However, you need to exercise extra caution since carbon steel pans tend to smoke excessively when being seasoned. Therefore, make sure that you open your windows and turn on the fans, and don’t let your kids stay in the house until the smoke clears. You don’t have to worry about the smoke since it is normal. Once it stops, it will be a clear indication that the oil coating has finished its transformation. The time in which this process takes varies depending on your burner heat output, as well as the size of your pan—but it should take only a few minutes. However, it can take up to 30 minutes when using an oven.Also read: induction vs electric cooking plates: what you need to know
Step 6: Repeat the process
You should continue with the process, and apply the thin oil coating, and heat the pan until these coatings darken, over and over. The end result should have the pan producing a dark-brown shade. This will be enough for you to start cooking with your pan.Step 7: you can now use your pan until it requires re-seasoning
Once you complete step #6, your carbon steel pan is ready for use. Regular sautéing and roasting with the pan will assist in building up more and more seasoning. Also, you can opt to add in new seasoning layers using step 6 whenever it’s needed. Your pan will eventually turn black, but this shouldn’t be a concern to you since it’s normal. However, it’s important to note that the seasoning a carbon steel pan can fake, compared to the seasoning on a cast iron pan. This, shouldn’t worry you at all since you can just re-season your pan a few times just to solve the problem.How do you know when to re-season a carbon steel pan?
After you’ve used your carbon steel pan, you’ll notice a few issues. This means it’s time to re-season the pan. Here’s what can happen:- You’ll notice rust, a rusty-patina or the pan feels rough to the touch. This looks unappealing and causes food to stick to the surface of the pan. This can occur if you don’t use your pan for a long time or you store it in a humid area.
- Leftover food sticks to the pan. You’ll notice gunk and old food residue stuck to the bottom of the pan. When you clean the pan, the gunk doesn’t come off.
How do you re-season a carbon steel pan?
To re-season the pan, follow these quick steps.- Scrubb off any rust or roughness on the pan with an abrasive sponge. Make sure to scrub hard and remove the old bits of burnt food residue.
- Apply 1 or 2 teaspoons of vegetable oil (flaxseed works well) and spread it all over the bottom of the pan.
- Remove excess oil with a sheet of paper towel.
- Heat the pan on medium heat and wait for oil beads to form. Be careful not to get burned by oil splatter.
- Use a good quantity of paper towel and remove the excess oil from the hot pan.
- Once the pan starts to smoke, leave it for 2 minutes.
How many times can you season a carbon steel pan?
Carbon steel pans are similar to cast iron pans. They both work better as they age. The more worn out the pan is, the better it performs. But, did you know that carbon steel seasons faster than cast iron? So, it’s a good investment. You can season the pan as many times as you want and need. You’ll know the pan needs seasoning when it’s full of gunk and rust.How to season a carbon steel wok
We’ve covered how to season your carbon steel pan. But did you know there are carbon steel woks? Carbon steel woks are popular in Asian kitchens. They are commonly used to make delicious stir-fries. But, like any other carbon steel pans, they require seasoning. Carbon steel woks become non-stick over time. The more you use them, the less they stick. This means you can cook oil-free meals. The wok needs extra time for seasoning and we are going to use some special ingredients. Here’s how to do it:- Wash your new wok in hot water to remove the factory coating. Scrub the wok inside and out gently to remove this seasoning.
- Place the clean wok on your stove on low heat for 2 minutes until it is dry.
- Set your stove to high heat. Wait until the wok is hot and ready for stir-frying.
- Take the wok off the stove and add 2 tbsp of vegetable oil. Move the oil around until it coats the pan.
- Put the wok back onto the stove and add some aromatic in the form of scallions and a bit of ginger.
- Put the heat on medium and stir-fry the aromatics for about 20 minutes.
- The wok will change color and go from shiny to a yellowish-brown.
- Throw away the stir-fry and wash the wok with hot water. Do not use any dish soap.
- Dry the wok on the stove for 2 minutes.
Bottom Line
Now, what you need to do after this is to maintain your pan. Always make sure that it is covered with the seasoning, as this will prevent the pan from getting damaged. Whenever a part of the seasoning flakes off, make sure that you repeat step 6 until the pan is covered again.Also check out my monster guide on seasoning copper pans here
Check out our new cookbook
Bitemybun's family recipes with complete meal planner and recipe guide.
Try it out for free with Kindle Unlimited:
Read for free
Joost Nusselder, the founder of Bite My Bun is a content marketer, dad and loves trying out new food with Japanese food at the heart of his passion, and together with his team he's been creating in-depth blog articles since 2016 to help loyal readers with recipes and cooking tips.